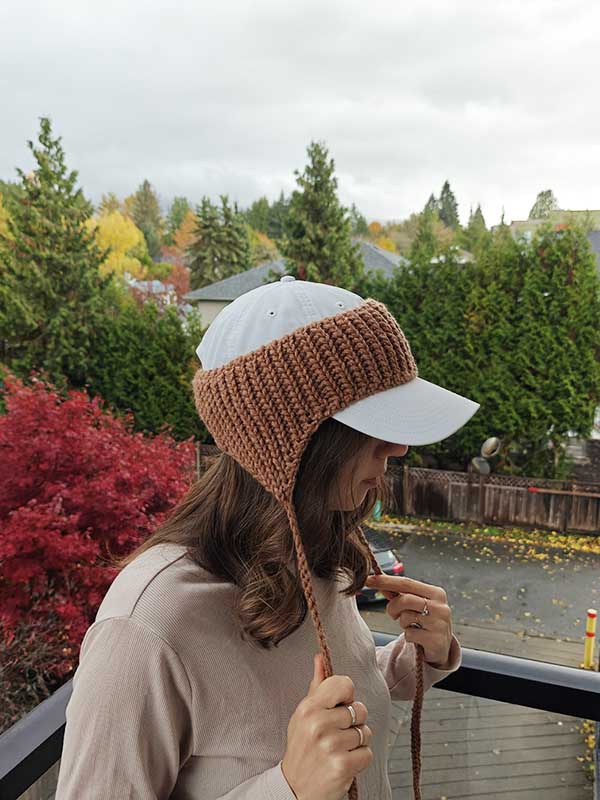
Crochet Headband with Ear Flaps Pattern
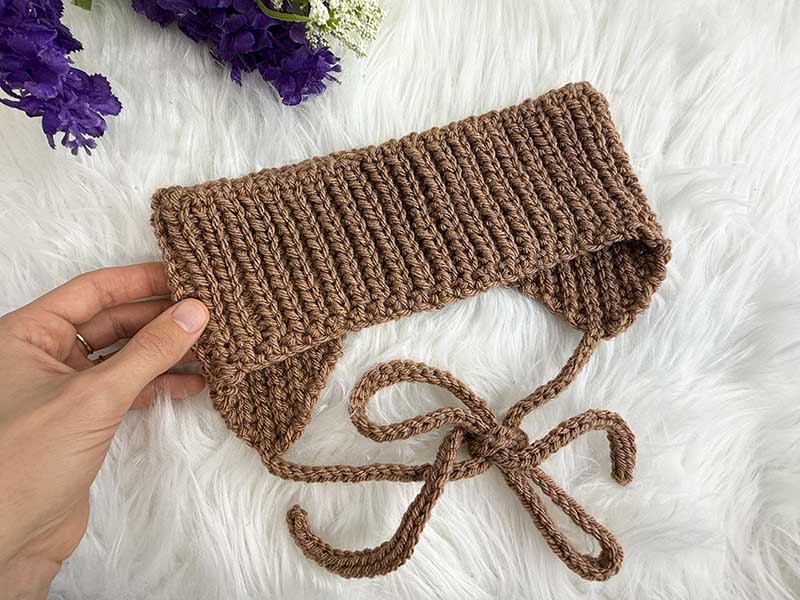
Crochet materials and tools:
Crochet Hook 5 mm;
Painbox, Simply Chunky (5) – 100% acrylic. 100 grams – 136 meters per skein. Quantity: 60 grams.
Crochet headband size:
Size: Adult/Child.
Width: 8.5 cm (3.25 in)
Common abbreviations of crochet stitches (US):
ch – chain
st(s) – stitch(es)
sl st – slip stitch
yo – yarn over
yo sl st – yarn over slip stitch: yarn over and insert the hook into the next stitch. Yarn over again and pull up a loop (you now have 3 loops on the hook). Pull the first loop through the other two loops on the hook in one motion, just like a regular slip stitch.
BLO – back loop only
yo sl st dec – yo, insert the hook into the back loop of the next stitch and then immediately into the back loop of the following stitch. Yo and pull through all 4 loops on the hook.
yo sl st dec 2: Yo, insert the hook into the back loop of the next stitch and pull up a loop. Insert the hook into the back loop of the following stitch, yo and pull through all 3 loops on the hook.
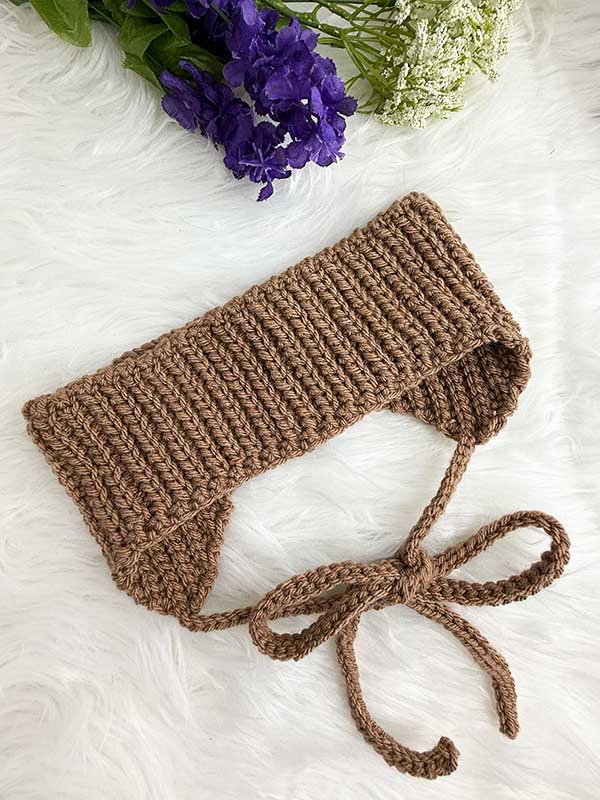
Headband with earflaps crochet pattern:
Crochet Headband:
Ch 14+1.
Row 1: Work into the back ridges of the chain: sl st into the second ridge from the hook and in each ridge across. (14)
Note: Starting from Row 2, work all stitches through the back loop only, except for the first and last stitches. Always work these two stitches under both loops to create a neater, firmer edge that stretches less.
Row 2: Ch 1, yo sl st BLO in each stitch across, working the first and last stitches under both loops.
Row 3: Ch 1, sl st BLO in each stitch across, working the first and last stitches under both loops.
Rows 4, 6, 8: Repeat Row 2.
Rows 5, 7, 9: Repeat Row 3.
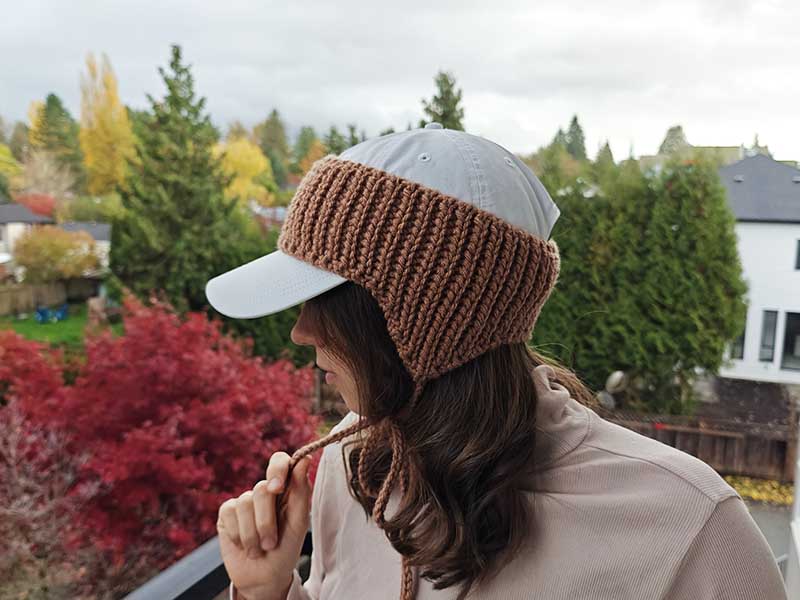
Shaping Earflaps:
Row 10: Ch 1, yo sl st BLO across, working the first and last stitches under both loops. Work the additional yo sl st into the last stitch. Then add one more stitch: insert the hook between the last 2 stitches (the original last stitch and the newly added stitch), yarn over and pull up a loop, yarn over again and pull through both loops on the hook. You have now added a second stitch. Check the video tutorial for a visual demonstration. (16)
Row 11: Ch 1, sl st BLO across, working the first and last stitches under both loops. (16)
Row 12: Ch 1, yo sl st BLO across, working the first and last stitches under both loops. Add 2 more stitches as explained in Row 10. (18)
Row 13: Ch 1, sl st BLO across, working the first and last stitches under both loops. (18)
Row 14: Ch 1, yo sl st BLO across, working the first and last stitches under both loops. Add 2 more stitches as explained in Row 10. (20)
Row 15: Ch 1, sl st BLO across, working the first and last stitches under both loops. (20)
Row 16: Ch 1, yo sl st BLO across, working the first and last stitches under both loops. Add 2 more stitches as explained in Row 10. (22)
Row 17: Ch 1, sl st BLO across, working the first and last stitches under both loops. (22)
Row 18: Ch 1, yo sl st BLO across, working the first and last stitches under both loops. Ch 75+1 (for the tie).
Row 19: Work into the back ridges of the chain: sl st into the second ridge from the hook and in each ridge across (75). Sl st BLO across, working only the last stitches under both loops.
Row 20: Ch 1, yo sl st BLO in next 18 sts (work the 1st stitch under both loops), yo sl st dec, yo sl st dec 2. (20)
Row 21: Ch 1, sl st BLO across, working the first and last stitches under both loops. (20)
Row 22: Ch 1, yo sl st BLO in next 16 sts (work the 1st stitch under both loops), yo sl st dec, yo sl st dec 2. (18)
Row 23: Ch 1, sl st BLO across, working the first and last stitches under both loops. (18)
Row 24: Ch 1, yo sl st BLO in next 14 sts (work the 1st stitch under both loops), yo sl st dec, yo sl st dec 2. (16)
Row 25: Ch 1, sl st BLO across, working the first and last stitches under both loops. (16)
Row 26: Ch 1, yo sl st BLO in next 12 sts (work the 1st stitch under both loops), yo sl st dec, yo sl st dec 2. (14)
Row 27: Ch 1, sl st BLO across, working the first and last stitches under both loops. (14)
Row 28: Ch 1, yo sl st BLO across, working the first and last stitches under both loops. (14)
Repeat Rows 27 and 28 another 17 times. In the final row, begin increasing for the second ear flap, following Rows 10-26.
After completing the second ear flap and returning to the initial stitch count of 14, finish the headband with 8 rows of ribbing, as you did at the beginning. Alternate rows of yo sl st BLO and sl st BLO.
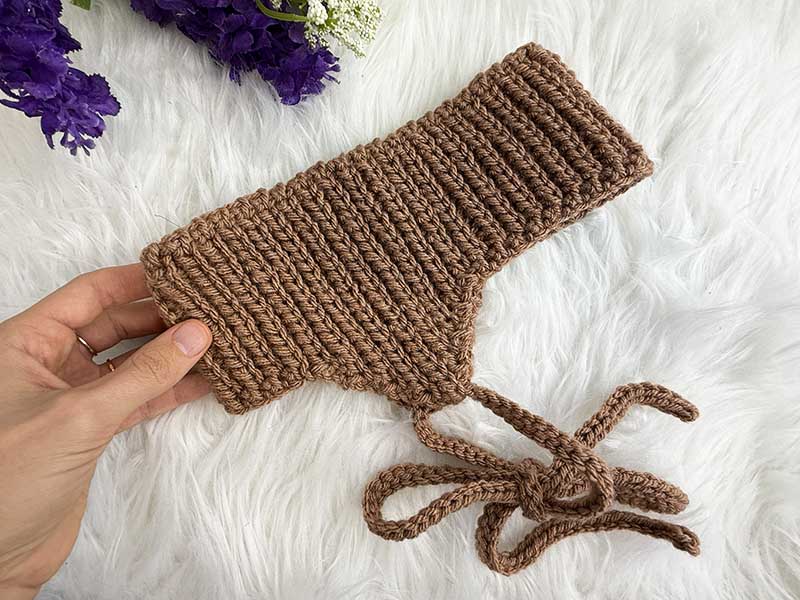
Assembly:
Turn the headband right side out (the side with the sl st BLO rows facing out) and align both edges. Keep the working yarn on the inside.
* Insert the hook from back to front under the front loop of the stitch on the piece farther from you. Then insert the hook from front to back under the back loop of the stitch on the piece nearest to you. Yo and pull through all 3 loops on the hook.
Repeat from * until the headband is completely seamed. Cut the yarn and weave in the ends on the wrong side.

Leave a Reply
Want to join the discussion?Feel free to contribute!