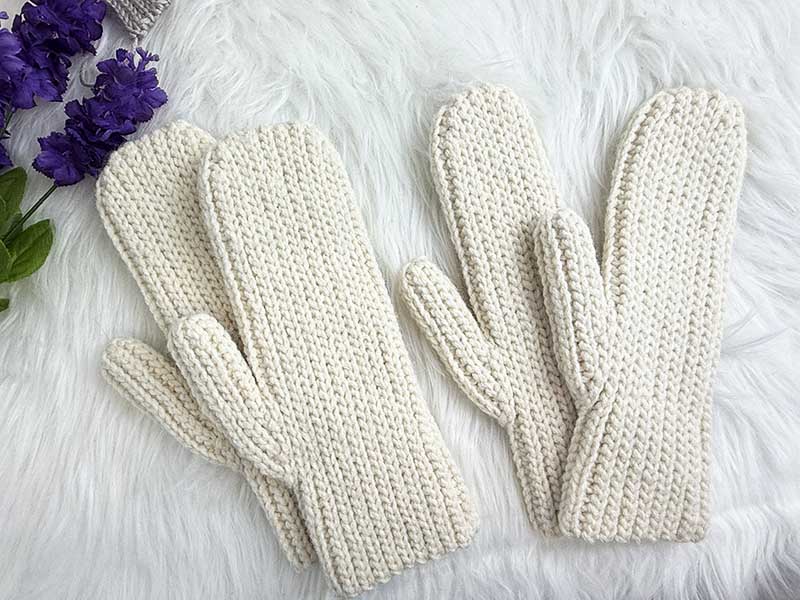
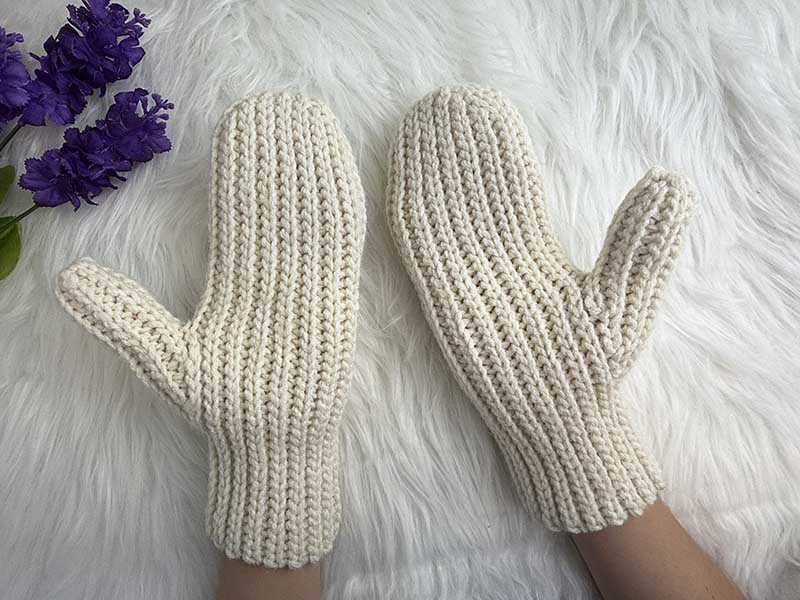
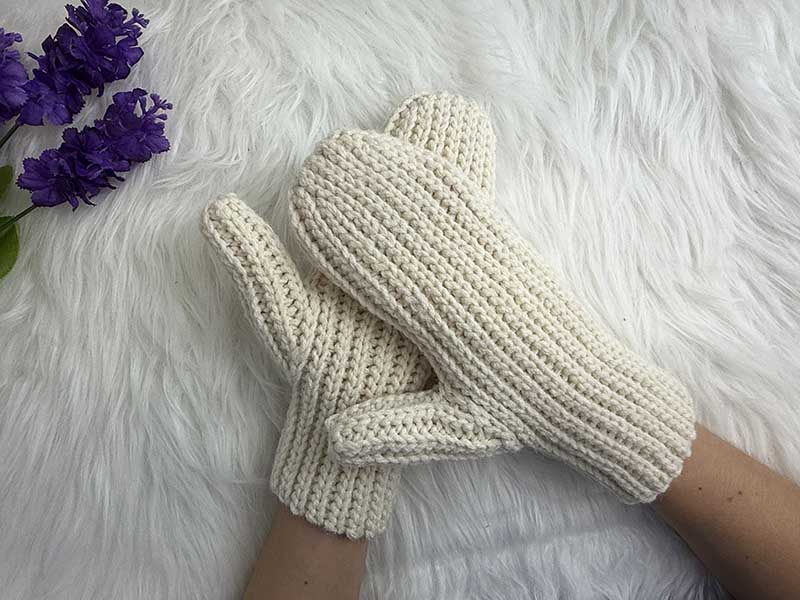
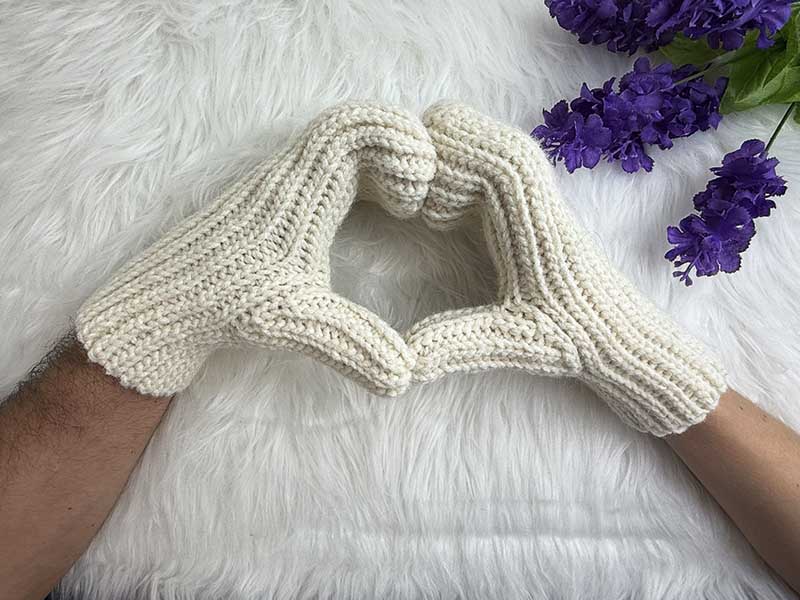
Crochet Flat Women’s Mittens Pattern
Pattern Sections
Crochet materials and tools:
Crochet hook 4.5 mm. Use a 4 mm or 5 mm crochet hook, depending on your gauge.
Use 2 strands of any double knitting yarn (3) or one strand of bulky weight yarn for example PaintBox Simply Chunky (5) –100% acrylic. Quantity: 75 grams for the woman size and 90 grams for the man size.
Yarn needle.
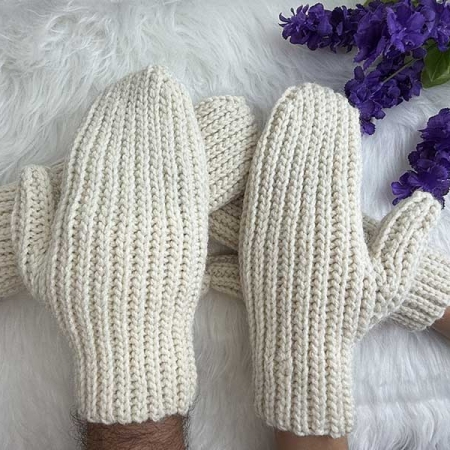
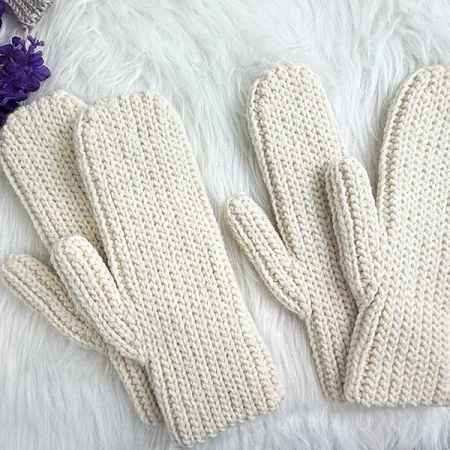
Size of crochet flat ribbed mittens for women:
Size: These mittens are designed to fit an average woman’s hand size.
I will include instructions on how to adjust the mitten for a wider hand. To make the mittens longer or add a cuff, chain additional stitches and repeat the short-row pattern, leaving the same number of stitches unworked as specified in the pattern. If your starting chain is longer or shorter, follow the same fingertip-shaping process.
Gauge: 18 sts x 24 rows = 10 cm (4 in).
Mitten length: 25-26 cm (10–10.25 in)
Common abbreviations of crochet stitches (US):
ch – chain
sl st – slip stitch
sl st blo – slip stitch back loop only
st(s) – stitch(es)
Flat ribbed women’s mittens crochet pattern:
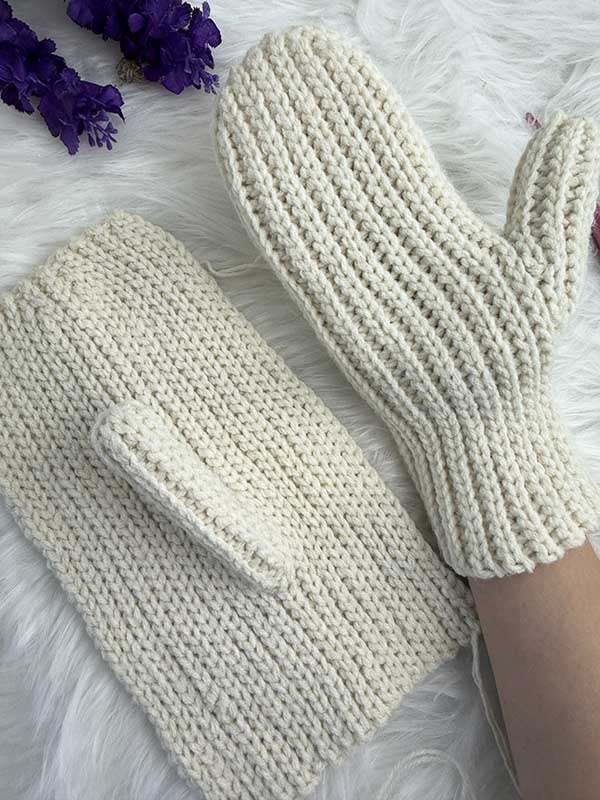
Crochet the mitten:
Row 1: Ch 46, then ch 1 extra for turning (47 ch in total).
Row 2: Starting in the 2nd ch from hook, sl st in each chain across. (46)
Row 3: Ch 1, sl st blo in next 42 sts. Leave the last 4 sts unworked.
Row 4: Ch 1, sl st blo in next 42 sts.
Row 5: Ch 1, sl st blo in next 44 sts. Leave the last 2 sts unworked. To avoid a gap when joining the short row, insert the hook under the horizontal bar of the previous turning chain and into the back loop of the next stitch, then yarn over and pull through all 3 loops. This helps close the gap and prevents holes.
Row 6: Ch 1, sl st blo in next 44 sts.
Row 7: Ch 1, sl st blo in next 46 sts.
Row 8: Ch 1, sl st blo in next 46 sts.
Row 9: Ch 1, sl st blo in next 46 sts.
Row 10: Ch 1, sl st blo in next 46 sts.
Row 11: Ch 1, sl st blo in next 46 sts.
Row 12: Ch 1, sl st blo in next 46 sts.
At this point, you can adjust the width of your mitten by repeating the last 2 rows as many times as needed.
Row 13: Ch 1,sl st blo in next 44 sts. Leave the last 2 sts unworked.
Row 14: Ch 1,sl st blo in next 44 sts.
Row 15: Ch 1, sl st blo in next 42 sts. Leave the last 4 sts unworked.
Row 16: Ch 1, sl st blo in next 42 sts.
Row 17: Ch 1, sl st blo in next 46 sts.
Row 18: Ch 1, sl st blo in next 46 sts.
After completing Row 18, place your hand on top of the mitten to check the width. The mitten should be slightly narrower than your hand, or about the same width. Since the main stitch pattern is slip stitch ribbing, it will stretch and usually fit nicely. If you need to adjust the width, return to Row 12 and repeat the rows as needed.
Row 19: Ch 1, sl st blo in next 13 sts (cuff), sl st blo in next 9 sts (thumb gusset). (22)
Crochet the thumb:
For easier counting, I will restart the row count from Row 1.
Row 1: Ch 10 (for the thumb). Turn.
Row 2: Ch 1, start in the second chain from the hook. Sl st in next 10 sts. Sl st blo in next 3 sts along the mitten part (along the gusset). Turn. (13)
Row 3: Ch 1, sl st blo in next 12 sts. Leave the last stitch unworked. Turn. (12)
Row 4: Ch 1, sl st blo in next 12 sts. Sl st blo in next 3 sts along the mitten part. Turn. (15) To avoid gaps when joining the short row, follow the same method as before.
Row 5: Ch 1, sl st blo in next 16 sts. Turn. (16)
Row 6: Ch 1, sl st blo in next 16 sts. Sl st blo in next 2 sts along the mitten part. Turn. (18)
Row 7: Ch 1, sl st blo in next 17 sts. Leave the last stitch unworked. Turn. (17)
Row 8: Ch 1, sl st blo in next 17 sts. Sl st blo in next st along the mitten part. Turn. (18)
Row 9: Ch 1, sl st blo in next 19 sts. Turn. (19)
Row 10: Ch 1, sl st blo in next 18 sts. Turn. (18)
Row 11: Ch 1, sl st blo in next 17 sts. Leave the last stitch unworked. Turn. (17)
Row 12: Ch 1, sl st blo in next 15 sts. Turn. (15)
Row 13: Ch 1, sl st blo in next 16 sts. Turn. (16)
Row 14: Ch 1, sl st blo in next 13 sts. Turn. (13)
Row 15: Ch 1, sl st blo in next 3 sts. Turn. (3)
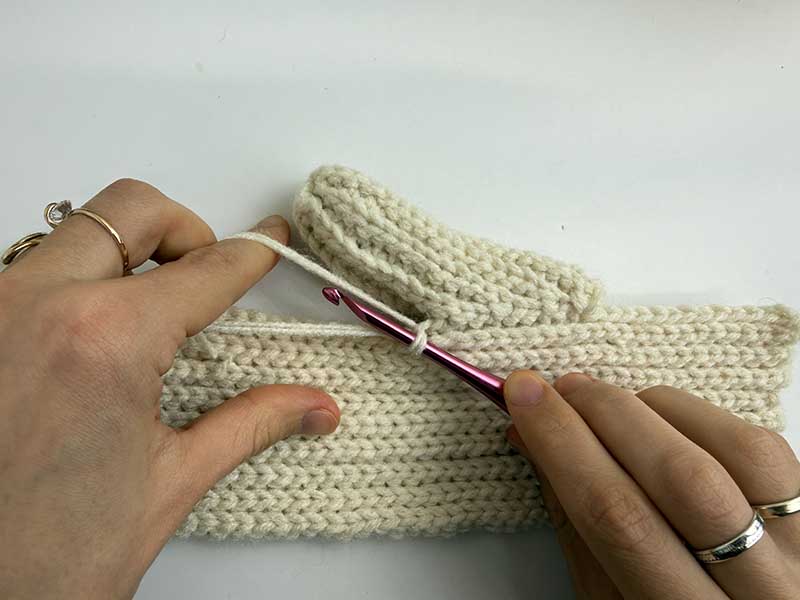
Fold the thumb wrong side out, with the working yarn on the far side and the ch-10 chain closer to you. *Insert the hook into the single loop of the first chain of the ch-10 chain and the back loop of the corresponding stitch on the opposite side, yarn over, and pull through all 3 loops. Repeat from * across to join the thumb.
Cut the yarn, leaving a short tail. Thread the tail through the stitches at the tip of the thumb and pull tight to close. Weave in the end. Turn the thumb right side out.
Now return to Row 19, where only 22 sts were worked. Attach the yarn to the last worked stitch at the corner of the thumb, leaving a 15–20 cm tail to sew up any hole that may form between the thumb and the mitten body.
Row 19: sl st blo in next 24 sts.
Row 20: Ch 1, sl st blo in next 46 sts. Work 24 sts, then 9 sts along the thumb section, using the same smooth joining method. Finish by working 13 sts across the cuff.
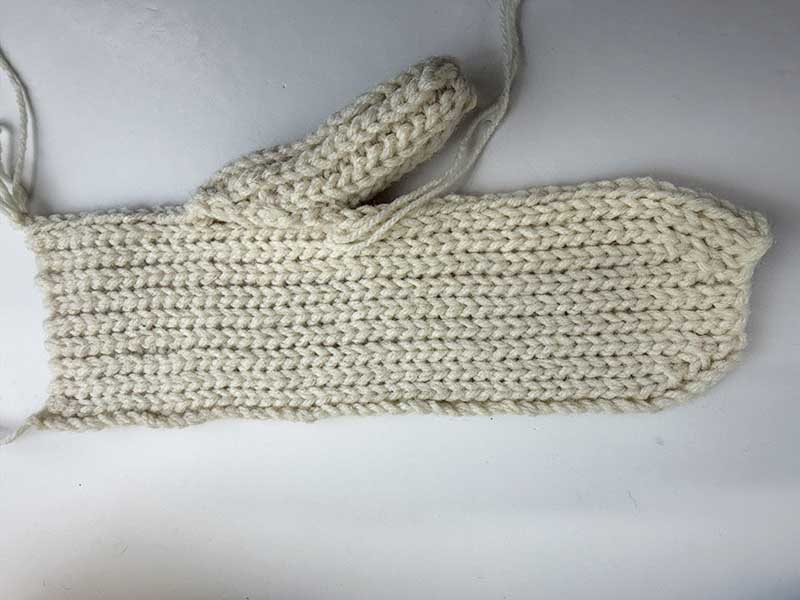
Now work the other side of the mitten by repeating Rows 3–18.
Sewing the Mitten
Fold the mitten with the wrong side facing out. Insert the hook into the first stitch of the foundation chain and into the back loop of the corresponding stitch on the opposite edge. Yarn over and pull through all 3 loops on the hook. Continue joining the stitches across the edge until the mitten is fully joined. To close the top of the mitten, use a yarn needle or continue joining with slip stitches. Weave in all ends.


Leave a Reply
Want to join the discussion?Feel free to contribute!