Crochet Pen (Pencil) Holder Pattern
Pattern Sections
Crochet organizers are life-saver items for crafty folks as they have so much going on in the working room – from hooks and pins to pens and measure tapes, to markers and scissors, and so much more. I can’t imagine myself without having a bunch of organizers for different item types.
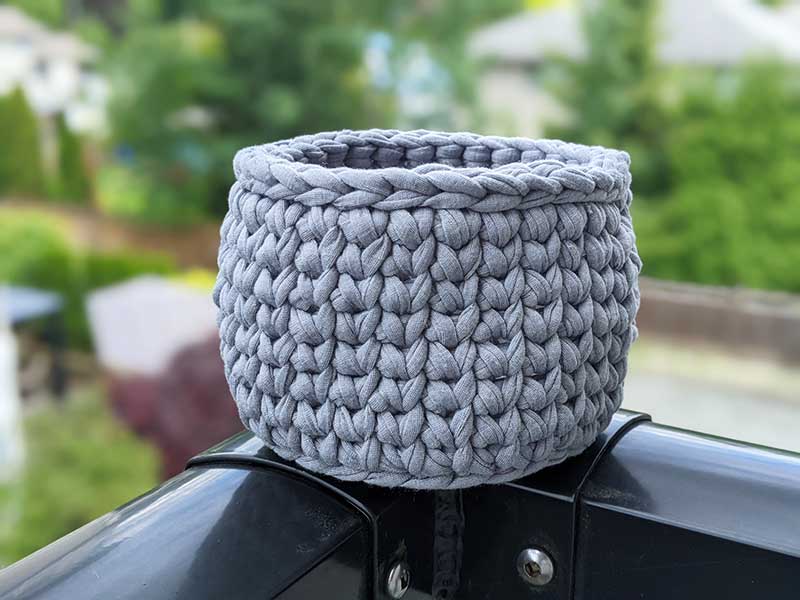
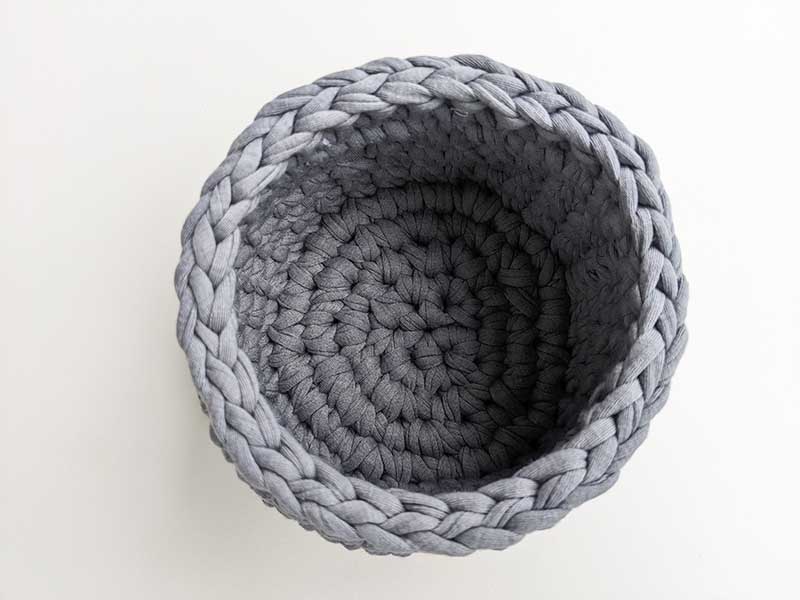
In this pattern, we will go over a typical crochet pen or pencil holder that also works great for hooks, needles, or paintbrushes. The holder has a slightly bigger width than height to easily find a small piece on the bottom of it. However, you can alter the size of the crochet pencil holder by adjusting the number of stitches. I’d recommend making the width of the pen holder big enough for your hand to go in and out, while the height of it should be a little bit bigger than the length of your fingers. T-shirt yarn makes a pen holder stable and sufficiently heavy so that it doesn’t tip over from a long needle or a paintbrush.
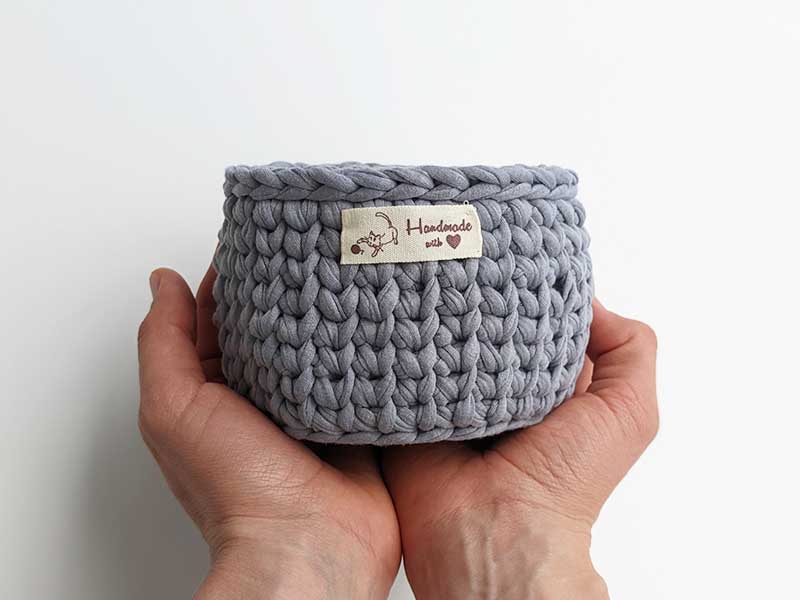
Add your touch to the crochet pencil holder by attaching a “handmade” label or a handle or something else. Let your creativity go wild and don’t forget to tag me on Instagram.
Crochet materials and tools:
<> Crochet hook 7 mm and 9 mm
<> Jersey Knit Material (T-shirt yarn) – 90% cotton, 10% polyester, 200 grams per 1 ball.
Common abbreviations of crochet stitches:
ch – chain
sc – single crochet
scs – center single crochet: insert the hook between the legs of single crochet in the previous round.
sl st – slip stitch
st – stitch
yo – yarn over
Pen (pencil) holder crochet pattern:
Leave 70-80 cm tail.
Round 1: Make adjustable ring. 6 sc into the ring. Leave the working yarn and pick up the tail you left. Using the tail join the first and the last sc. How to do it: when you crochet the last sc, do not finish it and just draw up a loop. Pick up the tail and finish the last sc. At this point pull the tail to close the adjustable ring. Next, insert the hook from back to front into the first sc and pull the tail through. After that again insert the hook from back to front underneath the back ridge and through the center of the last sc and pull the tail through. We have joined the first Round.
Check video tutorial for detailed instructions.
Round 2: Inset the hook between the legs of single crochet in the previous round and underneath the back ridge and make a ch1(count as 1scs), 1 scs into the same st, 2 scs in each st of previous round – 12 scs. Join using the tail you left.
Round 3: Inset the hook between the legs of single crochet in the previous round and underneath the back ridge and make a ch1(count as 1 scs), 1 scs into the same st, [2 scs, 1 scs] – repeat 5 times – 18 scs. Join using the tail.
Round 4: Inset the hook between the legs of single crochet in the previous round and underneath the back ridge and make a ch1(count as 1scs), 1 scs, 2 scs, [1 scs in the next st, 1 scs, 2 scs] – repeat 5 times – 24 scs. Join using the tail.
Round 5: Inset the hook between the legs of single crochet in the previous round and underneath the back ridge and make a ch1 (count as 1scs), 1 scs into the same st, 1 scs, 1 scs, 1 scs, [2 scs, 1 scs, 1 scs, 1 scs] – repeat 5 times – 30 scs. Join using the tail.
Round 6: in back loops only and through the back ridge, work 1 sc in each stitch around. Join using the tail.
Round 7-13: work 1 scs in each sts around – 30 scs. Join using the tail.
Switch to 9 mm crochet hook. Sl st into each stitch around the border. Join using the tail.
Fasten off and weave in all ends.


Under materials and tools it says tee-shit yarn! I know it’s a typo but it’s funny and maybe offensive to someone.
Thank you 🙂 Corrected!