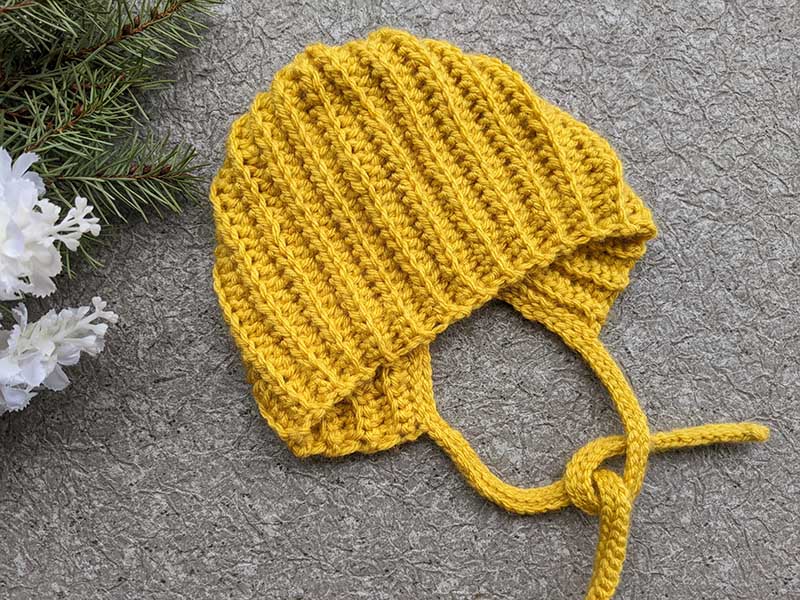
Crochet Newborn Baby Bonnet Pattern
Pattern Sections
Crochet tools and materials:
<> Crochet Hook 5 mm for the hat and optionally 3.5 mm for the ties.
<> Bernat, Premium (Medium) – 100% acrylic. In total 45 grams.
<> Yarn needle.
Crochet baby bonnet size:
| Size | Depth | Length |
| Newborn | 13.5 cm | 28 cm |
| 0-3 months | 14 cm | 30.5 cm |
| 3-6 months | 14.5 cm | 31 cm |
| 6-9 months | 15 cm | 34 cm |
The pattern is written for the size 0-3 months. Adjust the pattern accordingly for other sizes following the size adjustments provided.
Gauge: 16 sts – 4 inches (10 cm)
Common abbreviations of crochet stitches (US):
ch – chain
sl st – slip stitch
yo sl st blo – work through the back loop: wrap the yarn over the hook and insert the hook into indicated stitch. Yarn over and pull the yarn through three loops on the hook (loop, yarn over and loop).
SC – single crochet
SC blo – single crochet back loop only
HDC – half double crochet
HDC blo – half double crochet back loop only
st(s) – stitch(es)
Newborn baby bonnet crochet pattern:
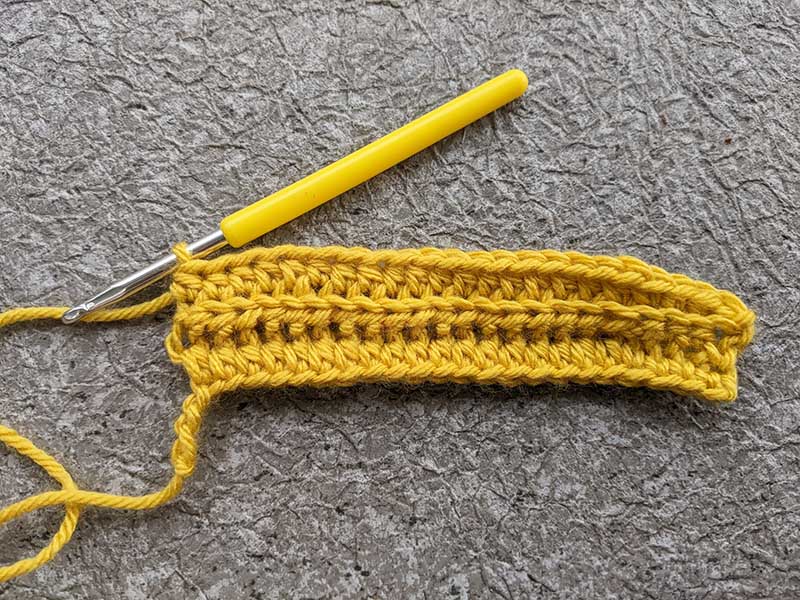
At the beginning leave a tail at least 20 cm. We will use this tail to close the crown. Chain 25+1 extra. The length of your chain must be 2-3 cm more than the depth shown in the table. The depth for the size 0-3 months is 14 cm. The length of my chain is 17 cm.
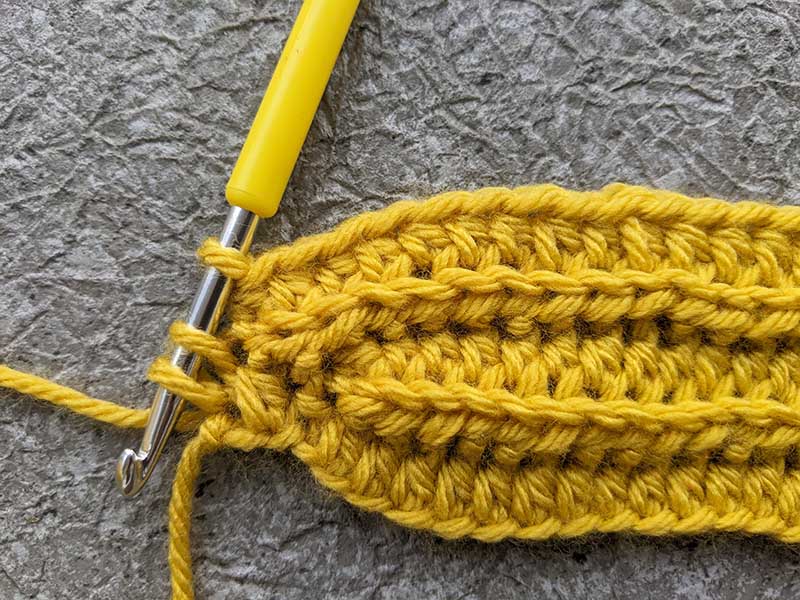
Row 1: Turn the chain and work into back ridges. Into the 2nd ridge make SC, SC in next 3 stitches. HDC in next 18 stitches. Leave 3 chains unworked. Turn.
Row 2: ch 1, 18 yo sl st blo, SC blo in next 3 stitches, SC in last stitch. Turn.
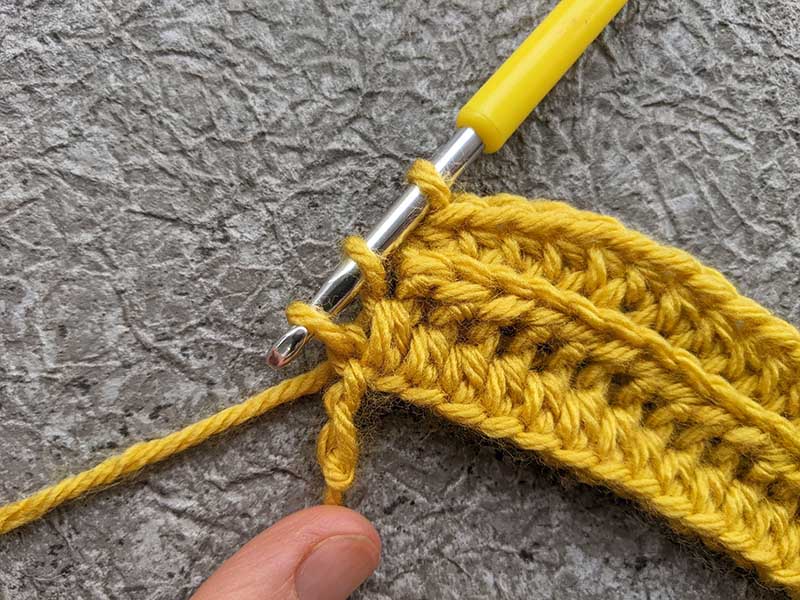
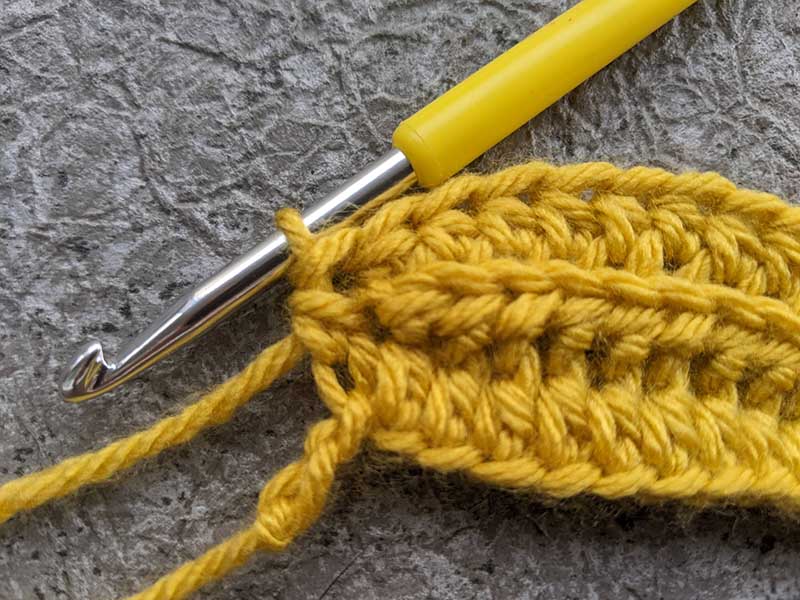
Row 3: ch 1, SC blo in next 4 sts, HDC blo in next 20 sts. To make the transfer from 18th HDC to 19th HDC smoother, instead of yarn over, insert the hook somewhere between last 2 rows, draw up a loop, after that insert the hook into the next stitch, draw up a loop, yarn over and pull the yarn though all 3 loops on the hook. Leave 1 chain unworked. Turn.

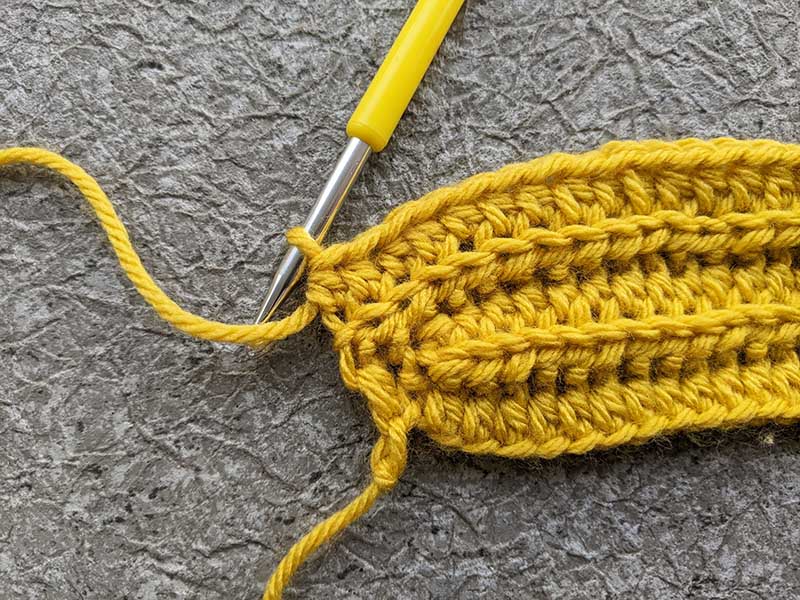
Row 4: ch 1, 20 yo sl st blo, SC blo in next 3 stitches, SC in last stitch. Turn.
Row 5: ch 1, SC blo in next 4 sts, HDC blo in next 21 sts. Repeat smooth transition as explained above. Turn.
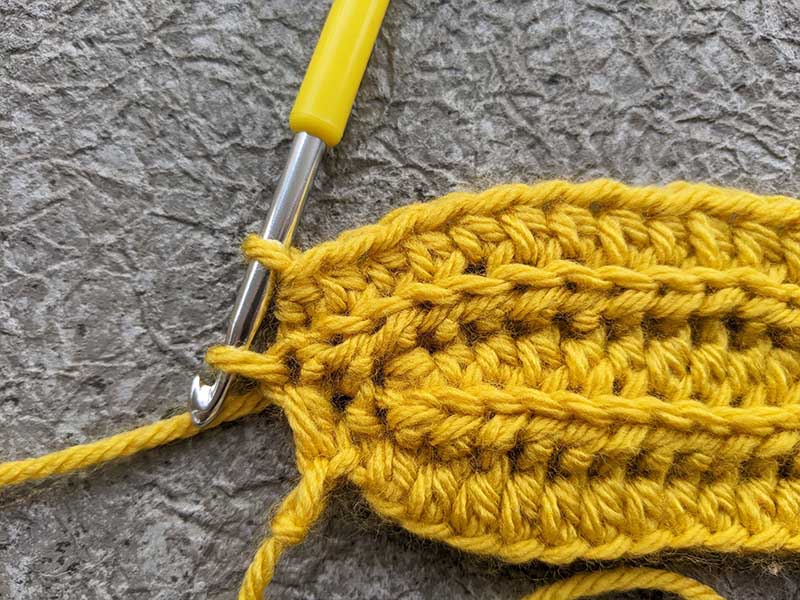
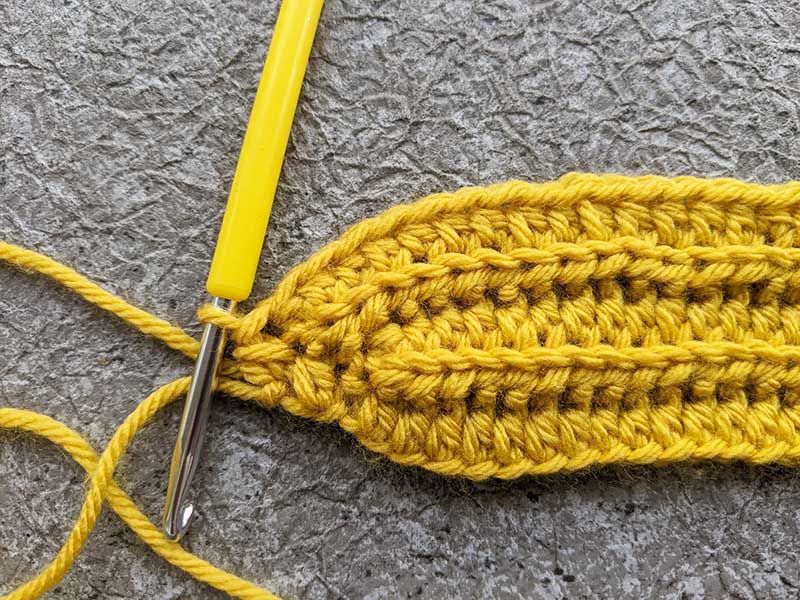
Row 6: ch 1, 21 yo sl st blo, SC blo in next 3 stitches, SC in last stitch. Turn.
Repeat Rows 1-6 (section) until length of the hat reaches the number in the table. The only difference in Row 1 all stitches will be crocheted not thought the back ridges but back loops. For the size newborn crochet 6 section, for the size 0-3 months crochet 7 section.
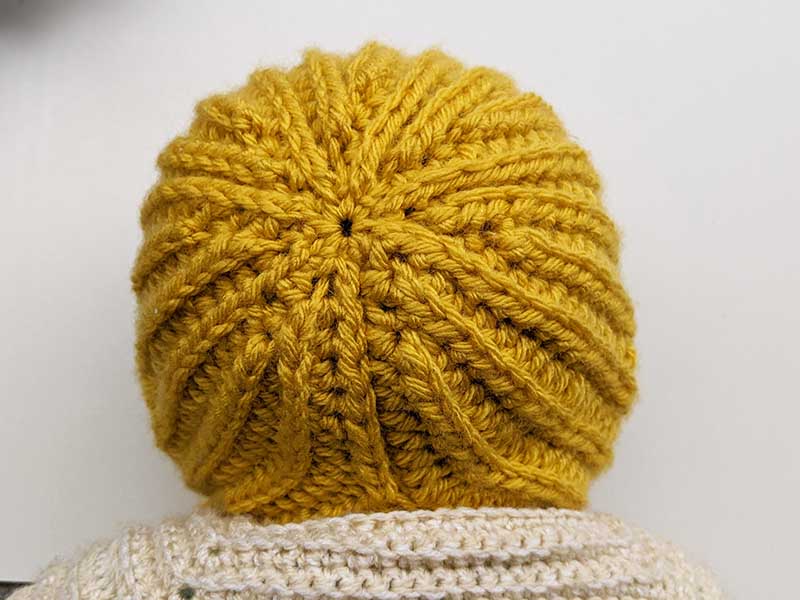
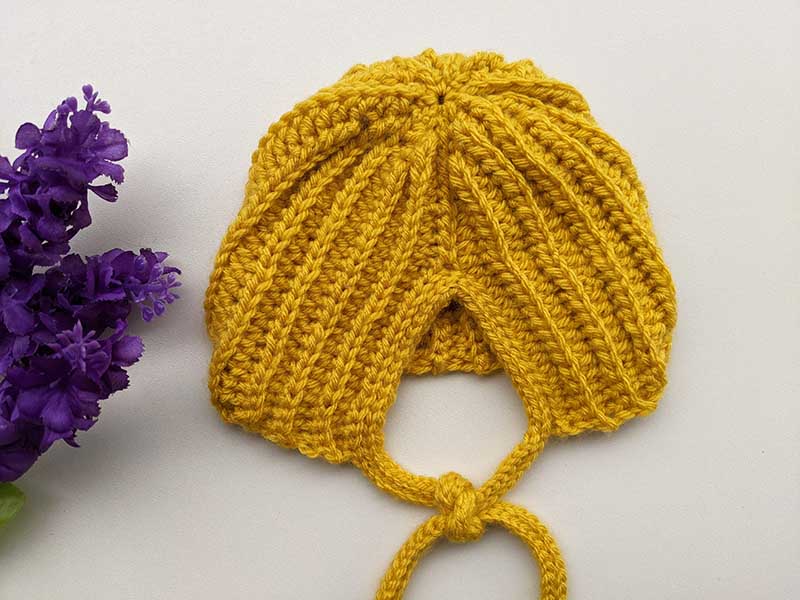
Do not cut the working yarn. Return to the tail that was left at the beginning. Fold the hat inside out (choose the side you prefer). Using a yarn needle, close the crown. Then, using the same tail and crochet hook instead of the yarn needle, create a seam by joining only 10 stitches: *insert the hook into the front loop of the front piece and the front loop of the back piece, yarn over, and pull through all 3 loops – repeat from *. Cut the yarn.
Ties:
Return to your working yarn and keep your hat inside out. Optionally, switch to a smaller crochet hook. Chain any number of stitches so that the tie measures between 20-22 cm. Starting from the 2nd chain from the hook, slip stitch in each chain. Then, change back to the larger crochet hook and slip stitch in each stitch along the edge of the bonnet. Return to the smaller hook size and chain the same number of stitches. Starting from the 2nd chain from the hook, slip stitch in each chain. If you prefer narrower ties, you can stop at this point, cut the yarn, and weave in all ends. For wider ties, crochet 2 more rows along the edge, crocheting all stitches through the back loops.


Leave a Reply
Want to join the discussion?Feel free to contribute!