Crochet Decor Flower Pattern
Pattern Sections
Crochet tools and materials:
<> Crochet hook 2.5 mm
<> Knit it, Super Soft Yarn –100% acrylic. 120 grams -324 m per skein
Common abbreviations of crochet stitches (US):
ch – chain
yo – yarn over
SC– single crochet
sl st – slip stitch
St(s) – stitch(es)
Pf st – puff stitch: [yo, insert the hook into the center, yo again and draw up a loop – repeat 6 times, yo and pull through all 13 loops on your hook, ch 1.
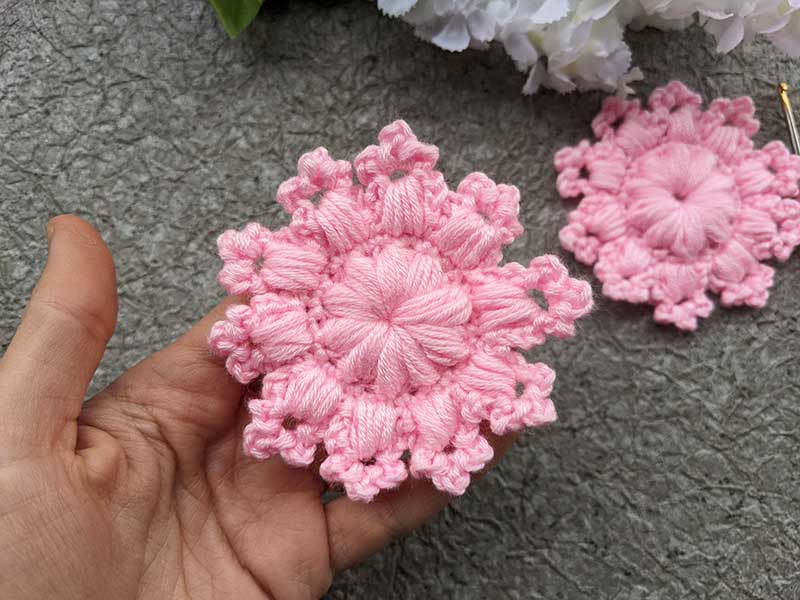
Decor flower crochet pattern:
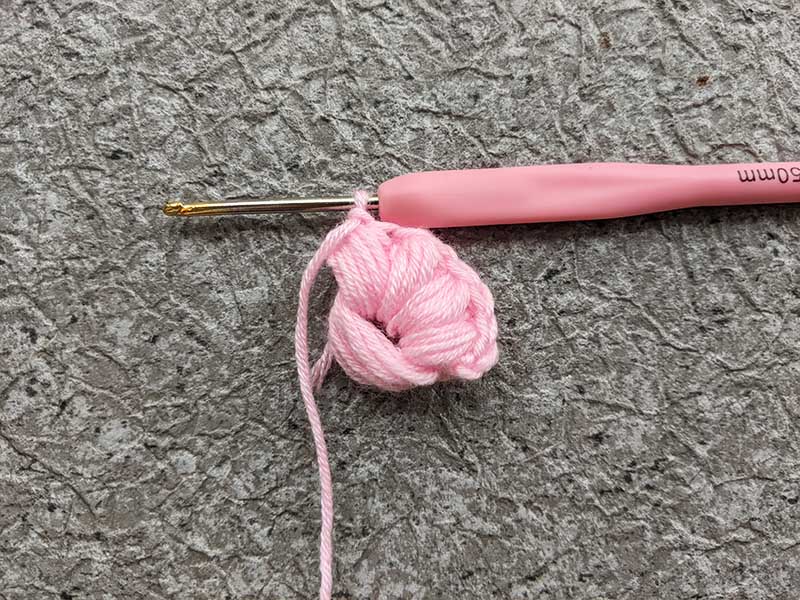
To make the center of the flower look bigger, wrap yarn around your index finger 10-12 times. Slide the loops off your finger, arranging them into a circle. Then, chain 2 to begin.
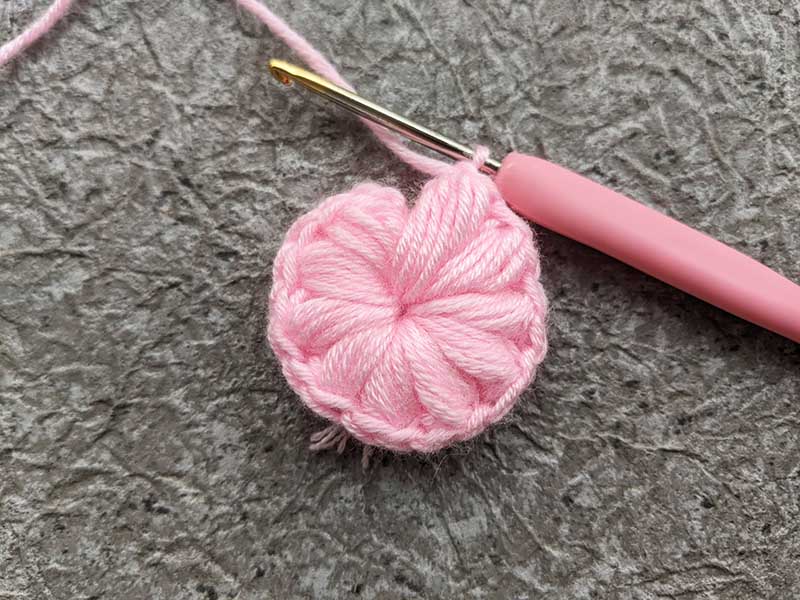
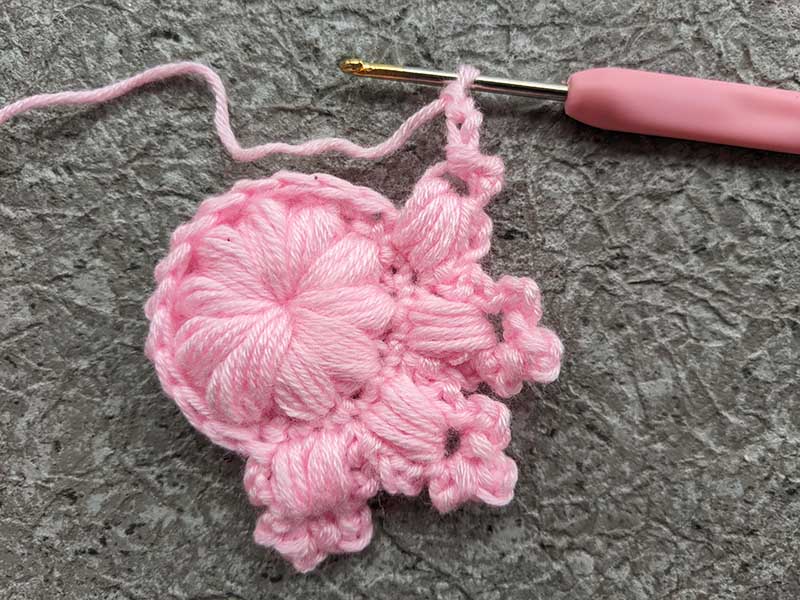
Round 1: work into the center: [yo, insert the hook into the center, yo again and draw up a loop] – repeat 5 times, yo and pull through all 11 loops on your hook, ch1. 9 pf sts into the center Join with sl st to first pf st. (10 pf sts)
Round 2: ch 1, SC into the same st as joining, SC in each stitch and ch 1 of the previous round. Join the 1st SC. (20 SC)
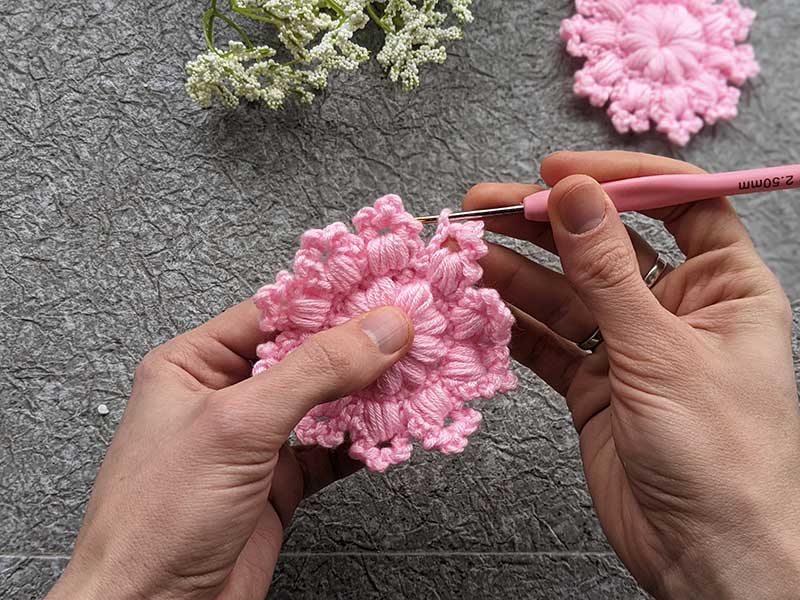
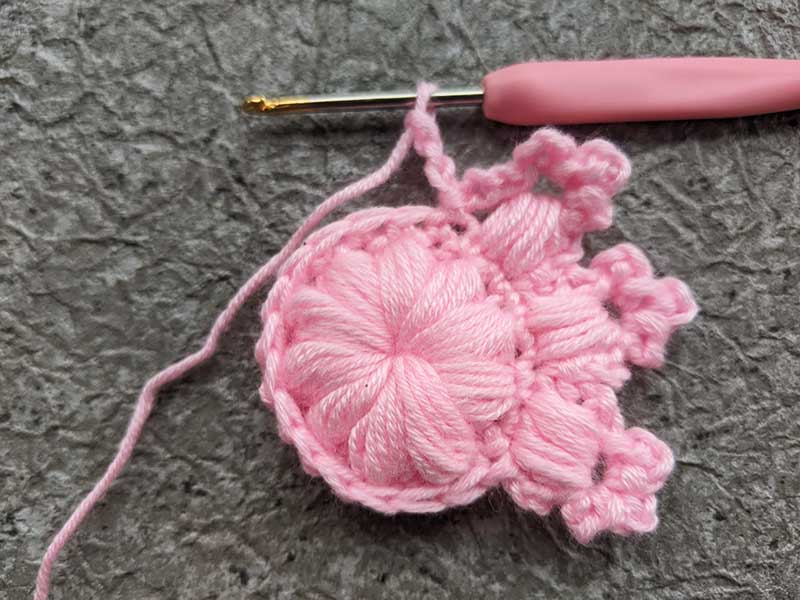
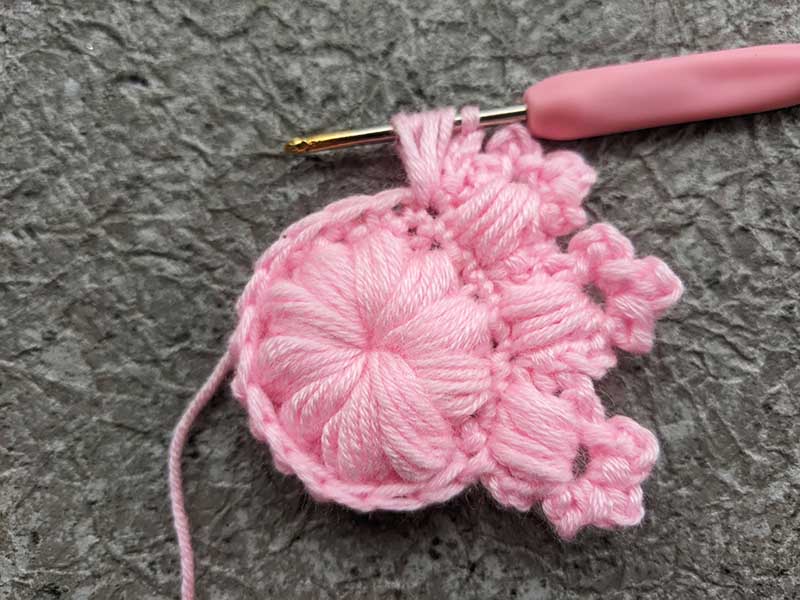
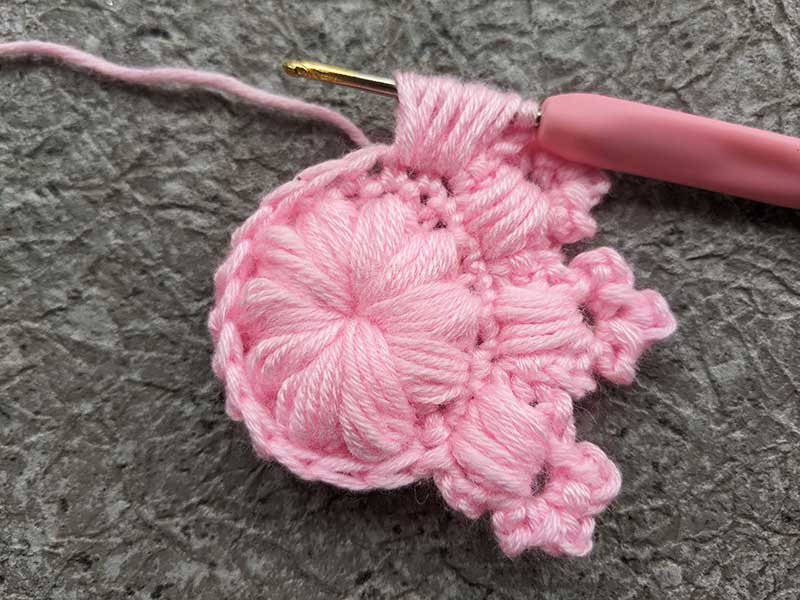
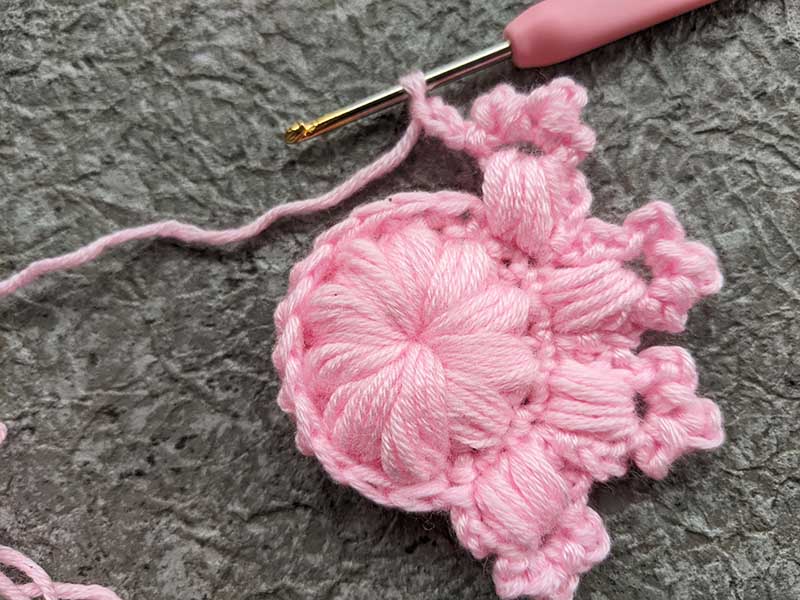
Round 3: *Ch 3. In the same st as the joining, yo, insert the hook, yo again and draw up a loop – repeat twice. In the next st, yo, insert the hook, yo again and draw up a loop – repeat 3 times. Yo and pull through all 11 loops on your hook. Ch 4, then sl st into the back ridge of the 1st ch. [Ch 3, sl st into the same back ridge] – repeat twice. Ch 3, sl st into the next st. Repeat from * 10 times. Join with sl st.
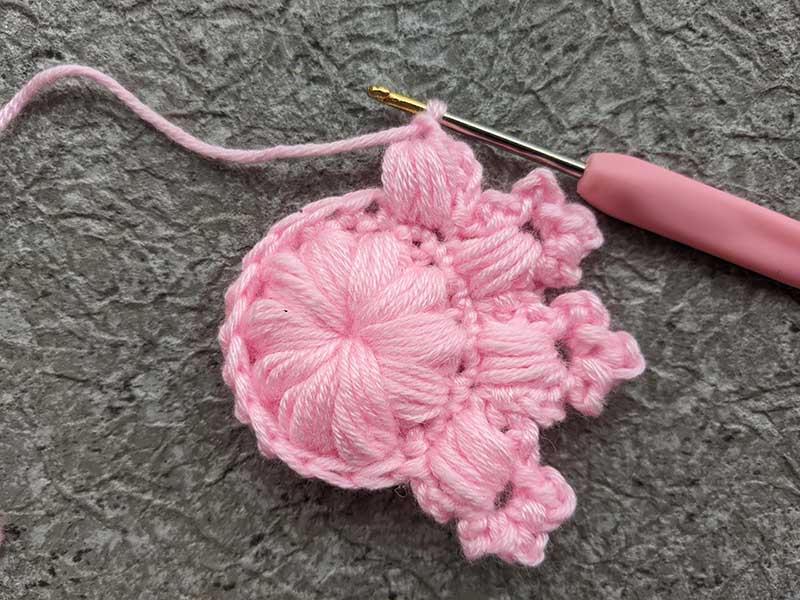
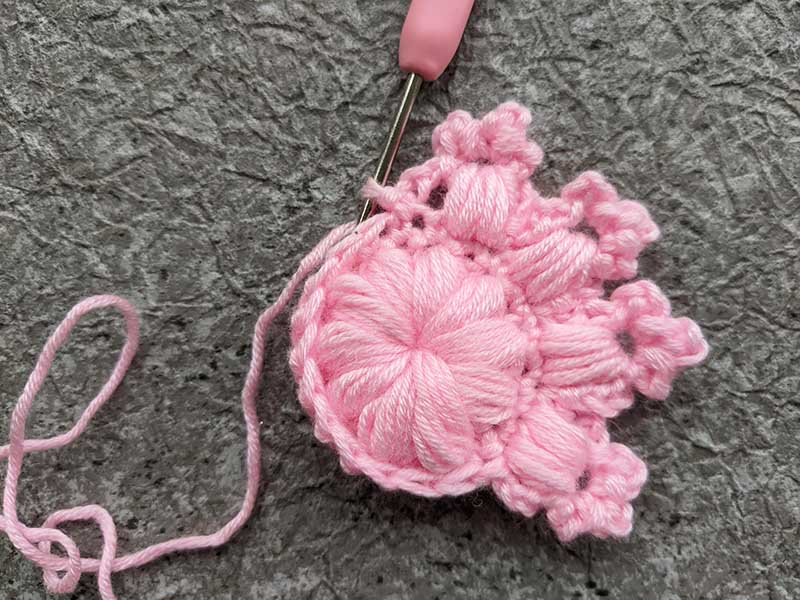
Cut the yarn and weave in all ends.


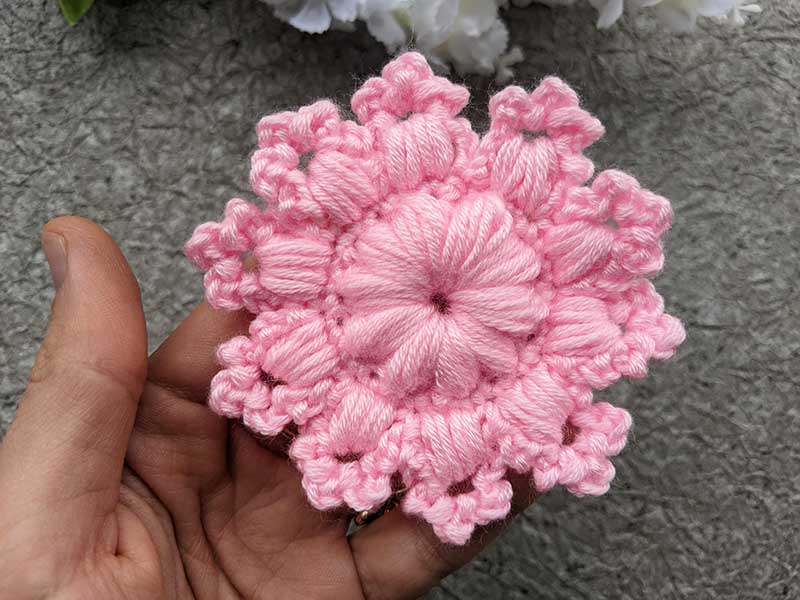
This is lovely pattern and I like that the 2nd row of puff stitches are above the 1st row of puff stitches.
I’m confused about the instructions which say “the back ridge of the 1st ch” but in the pictures it looks as if the stitches are in the top of the puff stitch. I did it both ways and neither way looks like the picture. And, unlike the 1st row of puffs, the 2nd row has a thread across the top of puff, which I don’t see in the picture. In any case, it’s still a lovely pattern, even with my errors. Thank you
Hi Gloria, Please check video tutorial and let me know if you still think that my explanation is wrong
Where do I get the 3 patterns I bought tonight?
Gen Smith
I emailed you, please check the letter.