Quick & Easy Crochet Scarf Pattern for Men
Pattern Sections
Crochet materials and tools:
Crochet Hook 6 mm;
Paintbox, Simply Chunky (5) – 100% acrylic. 100 grams – 136 meters per skein. Yarn Needed: min 2 skeins.
Crochet men’s scarf size:
Gauge: 14 sts x 15 rows = 4 inches
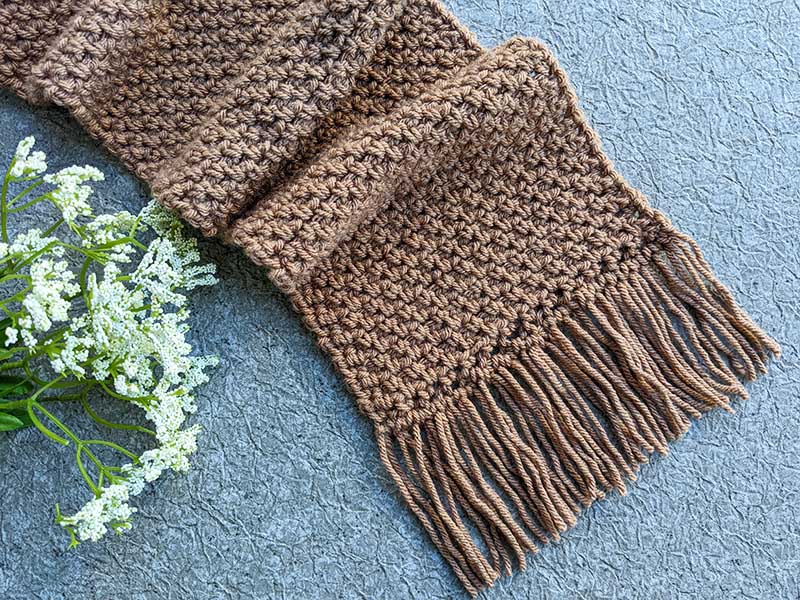
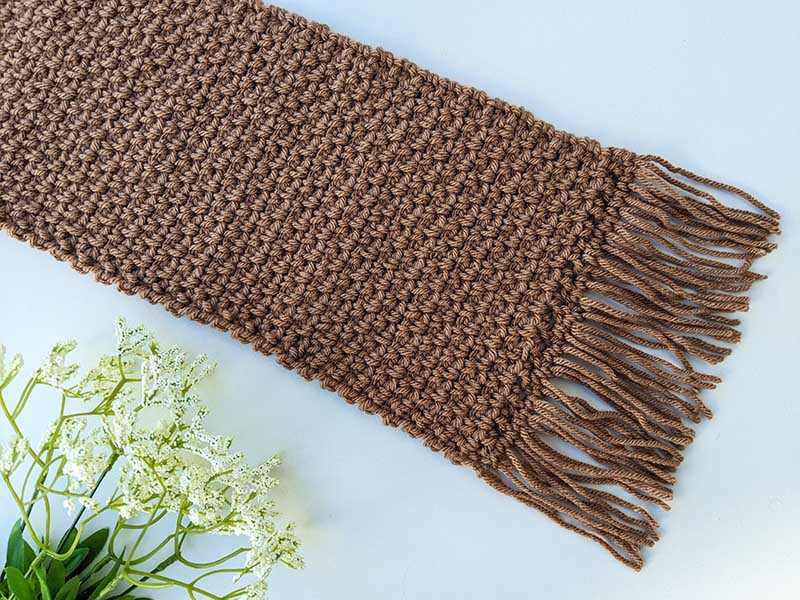
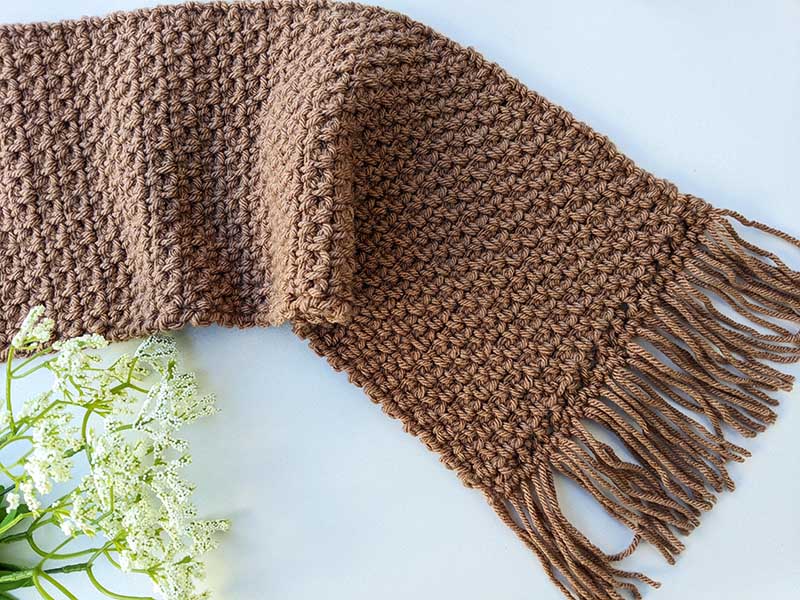
Finished Size: 19 x 130 cm excluding fringe (7.5 x 51 inches)
Common abbreviations of crochet stitches (US):
ch – chain
sp – space
st(s) – stitch(es)
SC – single crochet
Quick & easy men’s scarf crochet pattern:
Row 1: Ch 28 or any even number. 1 SC in 2nd ch from hook, *ch1, skip the next chain, 1 SC – repeat from * till the end. Turn
Row 2: Ch1, 1 SC in first SC, 1 SC in ch-1 space, *ch1, SC in ch-1 space – repeat from * till the end. Do not make ch1 at the end and finish with SC in the last st. Turn.
Row 3: With color B – Ch1, 1 SC in first SC, *ch1, SC in ch-1 space – repeat from * till the end. At the end ch1, skip 1 st and make 1 SC in the last st. Turn.
Row 4: Ch1, 1 SC in first SC, SC in ch-1 space, *ch1, 1 SC in ch-1 space – repeat from * till the end. Do not make ch1 at the end and finish with 1 SC in the last st. Turn.
Repeat Rows 3 and 4 until the scarf reaches the desired length. Fasten off and weave in ends.
Adding Decorative Fringes (Optional)
Fringes are a great finishing touch, but the scarf already looks beautiful on its own, so adding them is completely optional.
Cut yarn into lengths of approximately 26–27 cm (10 in) each. Each fringe can have 1, 2, or more strands, depending on the desired fullness. Using a crochet hook, attach the fringes evenly along the edge, placing one in each stitch. Once all fringes are attached, trim the ends to ensure they are neat and even.


I always have trouble with ends lining up. Frustrating. I love this pattern. Making scarves for men in assisted living.
Any tricks of the trade?
I also have watch you video. HELP.
I had the same problem! The edges usually go crooked when you accidentally add or lose a stitch at the ends. A couple tips that helped me: put a stitch marker in the first and last stitch of every row, and double-check your turning chain so you’re starting and ending in the right place. Makes the edges so much straighter!