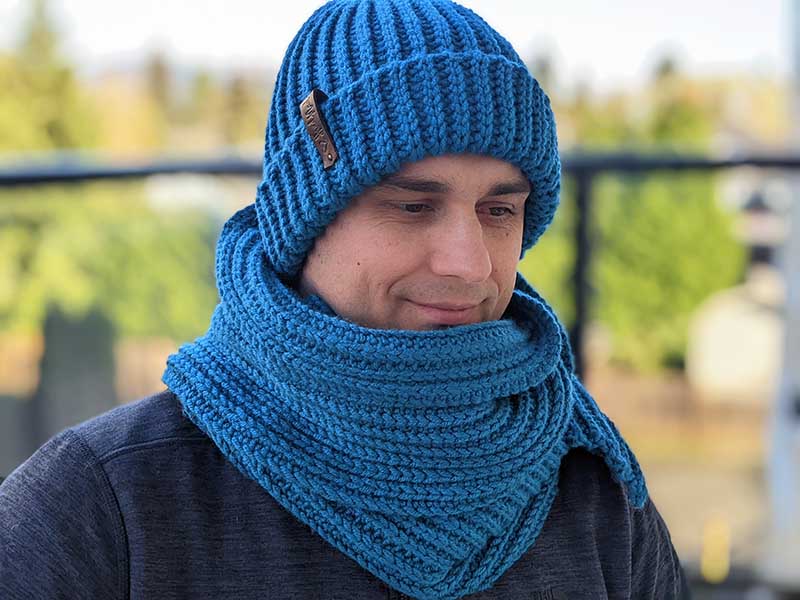
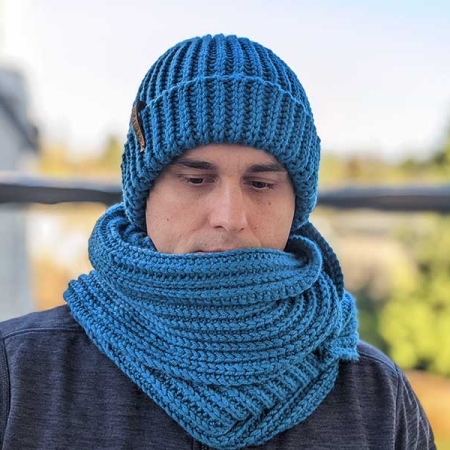
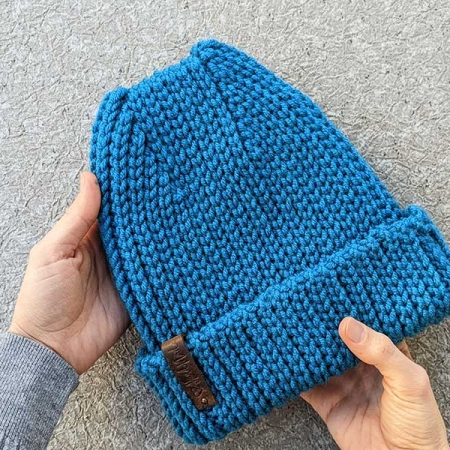
Crochet Men’s Hat Pattern with Double Brim
Pattern Sections
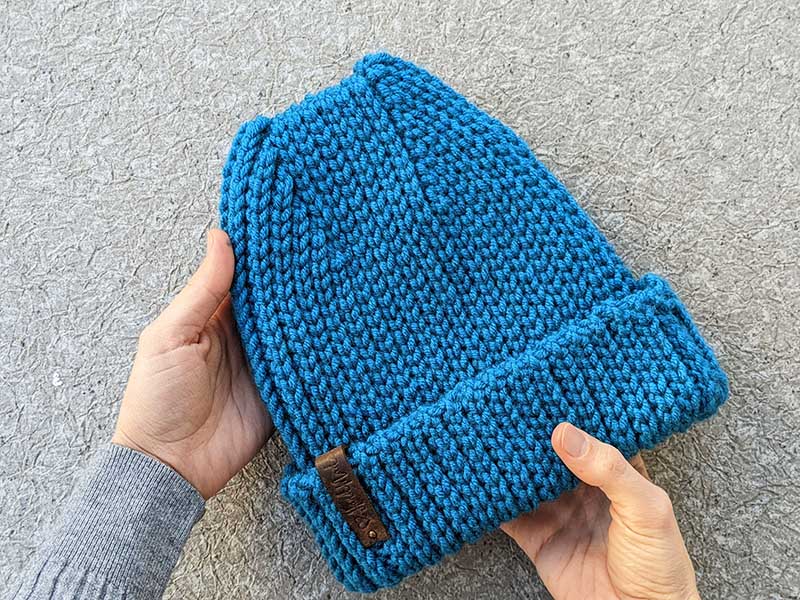
Crochet materials and tools:
Crochet hook 7 mm.
Lion Brand, Color Made Easy (5, bulky) – 100% acrylic. 200 grams – 226 meters per one skein. Quantity: 160 grams.
Crochet men’s hat size:
Head circumference: 53-58 cm (22-23 in)
Gauge: 16 sts/22 rows – 10 cm (4 in)
Common abbreviations of crochet stitches (US):
ch – chain
sl st – slip stitch
sl st blo – slip stitch back loop only
st(s) – stitch(es)
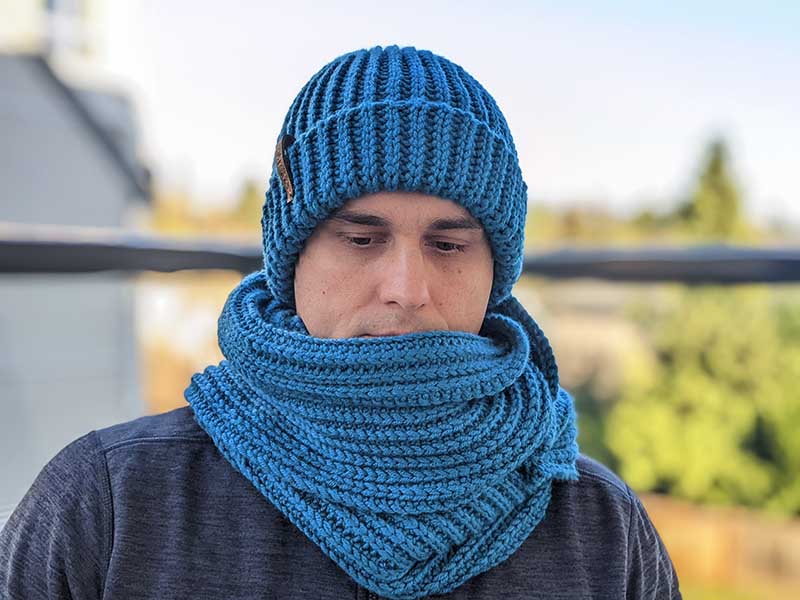
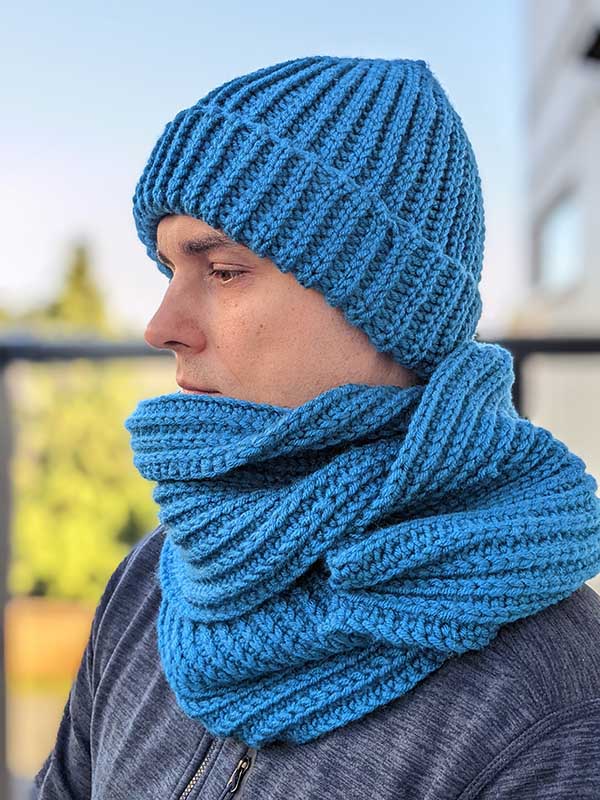
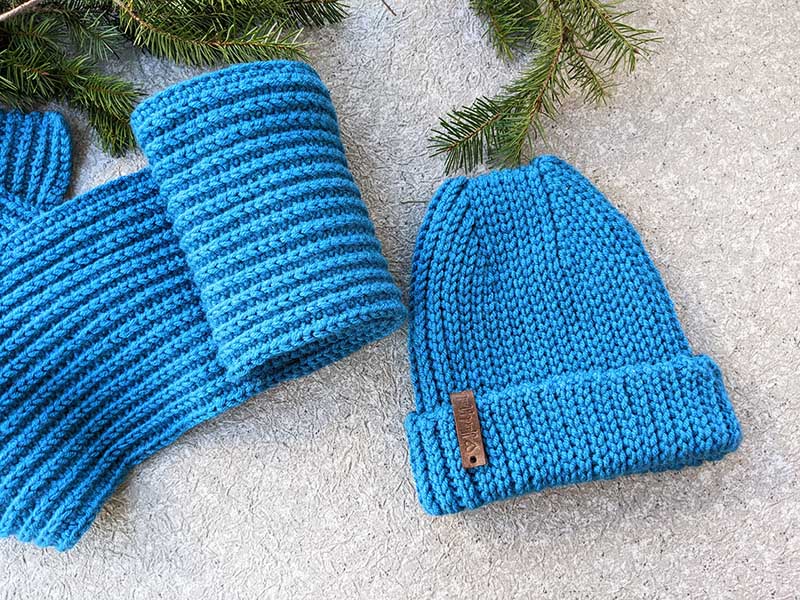
Men’s hat with a double brim crochet pattern:
Ch 43 + 1 for turning. Ch 53 for a taller, more pointed crown that will stand up and not sit directly on your head. It looks amazing as well!
Row 1: Working through the back ridges of the chain, sl st into the second ridge from the hook and in each ridge across to the end. Turn. (43)
Row 2: Ch1, sl st blo in each st across. Turn. (43)
Row 3: Ch1, sl st blo in each st across. Turn. (43)
Note: Work the very last stitch of every odd-numbered row under both loops to make the hat’s brim less stretchy.
Row 4: Ch 1, sl st blo in the next 41 sts, leaving the last 2 sts unworked. Turn. (41)
Row 5: Ch1, sl st blo in each st across. Turn. (41)
Row 6: Ch 1, sl st blo in the next 39 sts, leaving the last 4 sts unworked. Turn. (39)
Row 7: Ch1, sl st blo in each st across. Turn. (39)
Row 8: Ch 1, sl st blo in the next 37 sts, leaving the last 6 sts unworked. Turn. (37)
Row 9: Ch1, sl st blo in each st across. Turn. (37)
Row 10: Ch 1, sl st blo in the next 35 sts, leaving the last 8 sts unworked. Turn. (35)
Row 11: Ch1, sl st blo in each st across. Turn. (35)
Row 12: Ch 1, sl st blo in the next 33 sts, leaving the last 10 sts unworked. Turn. (33)
Row 13: Ch1, sl st blo in each st across. Turn. (33)
Row 14: Ch 1, sl st blo in each st across. (33 sl st blo). To create a smooth transition between rows and avoid holes, *insert the hook under the bar between the last two rows, then into the back loop of the next stitch, yarn over, pull through all 3 loops on the hook, sl st blo — repeat from * 5 times. (This brings the total to 43 sl st blo.) Turn. (43)
Row 15: Ch1, sl st blo in each st across. Turn. (43)
Rows 16-25: Ch1, sl st blo in each st across. Turn. (43)
Row 26: Ch 1, sl st blo in the next 33 sts, leaving the last 10 sts unworked. Turn. (33)
Row 27: Ch1, sl st blo in each st across. Turn. (33)
Row 28: Ch 1, sl st blo in the next 33 sts. To create a smooth transition between rows and avoid holes, *insert the hook under the bar between the last two rows, then into the back loop of the next stitch, yarn over, pull through all 3 loops on the hook, sl st blo. Leave 8 sts unworked. Turn. (35)
Row 29: Ch1, sl st blo in each st across. Turn. (35)
Row 30: Ch 1, sl st blo in the next 35 sts. To create a smooth transition between rows and avoid holes, *insert the hook under the bar between the last two rows, then into the back loop of the next stitch, yarn over, pull through all 3 loops on the hook, sl st blo. Leave 6 sts unworked. Turn. (37)
Row 31: Ch1, sl st blo in each st across. Turn. (37)
Row 32: Ch 1, sl st blo in the next 37 sts. To create a smooth transition between rows and avoid holes, *insert the hook under the bar between the last two rows, then into the back loop of the next stitch, yarn over, pull through all 3 loops on the hook, sl st blo. Leave 4 sts unworked. Turn. (39)
Row 33: Ch1, sl st blo in each st across. Turn. (39)
Row 34: Ch 1, sl st blo in the next 39 sts. To create a smooth transition between rows and avoid holes, *insert the hook under the bar between the last two rows, then into the back loop of the next stitch, yarn over, pull through all 3 loops on the hook, sl st blo. Leave 2 sts unworked. Turn. (41)
Row 35: Ch1, sl st blo in each st across. Turn. (41)
Row 36: Ch 1, sl st blo in the next 41 sts. To create a smooth transition between rows and avoid holes, *insert the hook under the bar between the last two rows, then into the back loop of the next stitch, yarn over, pull through all 3 loops on the hook, sl st blo. Turn. (43)
Row 37: Ch1, sl st blo in each st across. Turn. (43)
Rows 38-41: Ch1, sl st blo in each st across. Turn. (43)
Repeat the pattern from Row 4 through Row 37, including Row 37.
Finish the Hat:
-
- Cut the yarn, leaving a 1-1.2m tail.
- Fold the hat wrong side out (with the foundation edge closest to you).
- To make the seam more flexible and less rigid, split the working yarn in half. Since the yarn has 5 strands, divide it into 2 strands and 3 strands, using only the 2 strands for the seam.
- Insert the hook underneath the 2 loops of the foundation chain and through the back loop of the other side, finishing with a slip stitch. Continue joining the two edges together.
- Turn the hat right side out.
- Using the same yarn tail and a yarn needle, first pick up the bars of the 3 rightmost ridges. Then, seam the central part by picking up the bars from the front and back parts, one by one.
- At the end, pick up the bars of the 3 leftmost ridges.
- Pull the tail to shape the crown of the hat.
- Fasten off and weave in the ends.



Leave a Reply
Want to join the discussion?Feel free to contribute!