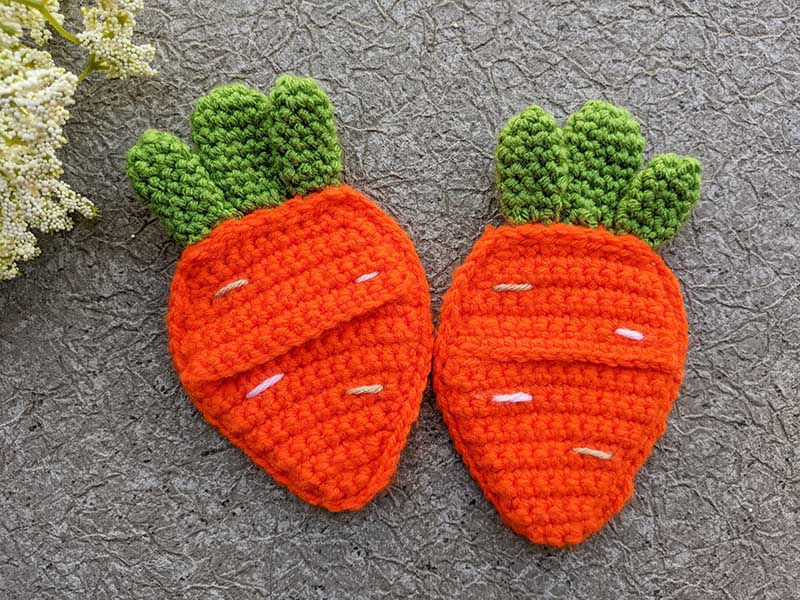
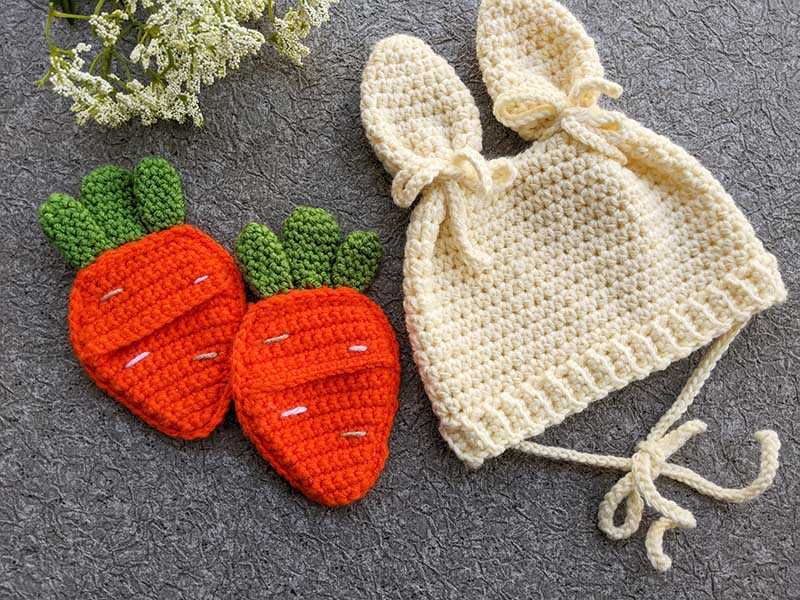
Crochet Carrot Treats Pocket Pattern
Pattern Sections
Crochet materials and tools:
Crochet hook 4 mm.
Bernat Premium, Yarnspirations: 100% Acrylic. Color A – orange, Color B – green.
Weight Category – 4 (Medium).

Crochet carrot pocket size:
Carrot pocket size: 10*11 cm (4”*4.3”)
Common abbreviations of crochet stitches (US):
ch – chain
SC– single crochet
sl st – slip stitch
SC2tog – single crochet two together
st(s) – stitch(es)

Carrot treat pocket crochet pattern:
Crochet carrot:
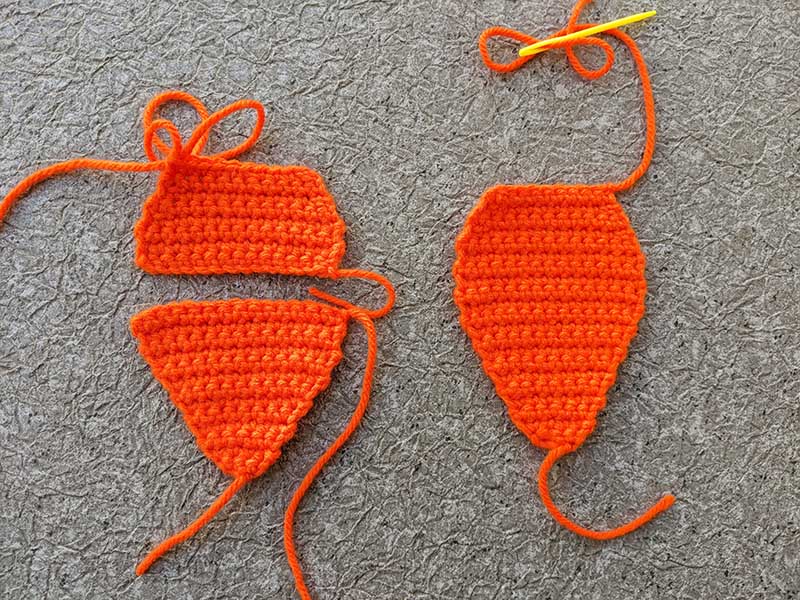
Back part:
Color A.
Row 1: Ch 3. 2 SC into the 2nd ch from hook, 2 SC in the last ch. Turn. (4)
Row 2: Ch 1, SC in next 3 sts, 2 SC in the last st. Turn. (5)
Row 3: Ch 1, SC in next 4 sts, 2 SC in the last st. Turn. (6)
Row 4: Ch 1, SC in next 5 sts, 2 SC in the last st. Turn. (7)
Row 5: Ch 1, SC in next 6 sts, 2 SC in the last st. Turn. (8)
Row 6: Ch 1, SC in next 7 sts, 2 SC in the last st. Turn. (9)
Row 7: Ch 1, SC in next 8 sts, 2 SC in the last st. Turn. (10)
Row 8: Ch 1, SC in next 9 sts, 2 SC in the last st. Turn. (11)
Row 9: Ch 1, SC in next 10 sts, 2 SC in the last st. Turn. (12)
Row 10: Ch 1, SC in next 11 sts, 2 SC in the last st. Turn. (13)
Row 11: Ch 1, SC in next 12 sts, 2 SC in the last st. Turn. (14)
Rows 12-17: Ch 1, SC in next 14 sts. Turn. (14)
Row 18: Ch 1, SC2tog, SC in next 12 sts. Turn. (13)
Row 19: Ch 1, SC2tog, SC in next 11 sts. Turn. (12)
Row 20: Ch 1, SC2tog, SC in next 10 sts. Turn. (11)
Row 21: Ch 1, SC2tog, SC in next 9 sts. Turn. (10)
Cut the yarn, leaving a 20-25 cm tail.
Front part 1:
Row 1: Ch 3. 2 SC into the 2nd ch from hook, 2 SC in the last ch. Turn. (4)
Row 2: Ch 1, SC in next 3 sts, 2 SC in the last st. Turn. (5)
Row 3: Ch 1, SC in next 4 sts, 2 SC in the last st. Turn. (6)
Row 4: Ch 1, SC in next 5 sts, 2 SC in the last st. Turn. (7)
Row 5: Ch 1, SC in next 6 sts, 2 SC in the last st. Turn. (8)
Row 6: Ch 1, SC in next 7 sts, 2 SC in the last st. Turn. (9)
Row 7: Ch 1, SC in next 8 sts, 2 SC in the last st. Turn. (10)
Row 8: Ch 1, SC in next 9 sts, 2 SC in the last st. Turn. (11)
Row 9: Ch 1, SC in next 10 sts, 2 SC in the last st. Turn. (12)
Row 10: Ch 1, SC in next 11 sts, 2 SC in the last st. Turn. (13)
Row 11: Ch 1, SC in next 12 sts, 2 SC in the last st. Turn. (14)
Rows 12-14: Ch 1, SC in next 14 sts. Turn. (14)
Cut the yarn.
Front part 2:
Rows 1-4: Ch 15. Work though back ridges: SC into the 2nd ch from hook and in each ch across. Turn. (14)
Row 5: Ch 1, SC2tog, SC in next 12 sts. Turn. (13)
Row 6: Ch 1, SC2tog, SC in next 11 sts. Turn. (12)
Row 7: Ch 1, SC2tog, SC in next 10 sts. Turn. (11)
Row 8: Ch 1, SC2tog, SC in next 9 sts. Turn. (10) Do not cut the working yarn. Set all pieces aside for now.
Crochet big leaf
Color B.
Round 1: magic ring, 6 SC into the ring. No join needed. Start working into the first stitch of the next round and continue working in a spiral.
Round 2: 2 SC in each st around. (12)
Rounds 3-6: SC in each st around. (12)
Round 7: [SC in next 4 sts, SC2tog] – twice. (10)
Round 8: [SC in next 3 sts, SC2tog] – twice. (8)
Round 9: [SC in next 2 sts, SC2tog] – twice. (6) When you have the last 6 stitches remaining, fasten off the yarn, leaving a long tail. Use a yarn needle to close the hole by sewing the stitches together in pairs: first join 2 stitches, then the next 2, and finally the last 2. Weave in the end.
Crochet small leaf (make 2)
Color B.
Round 1: magic ring, 6 SC into the ring. No join needed. Start working into the first stitch of the next round and continue working in a spiral.
Round 2: [SC in next 2 sts, 2 SC in next st] – twice. (8)
Rounds 3-7: SC in each st around. (8)
Round 8: [SC in next 2 sts, SC2tog] – twice. Finish the end of the leaf the same way as before.
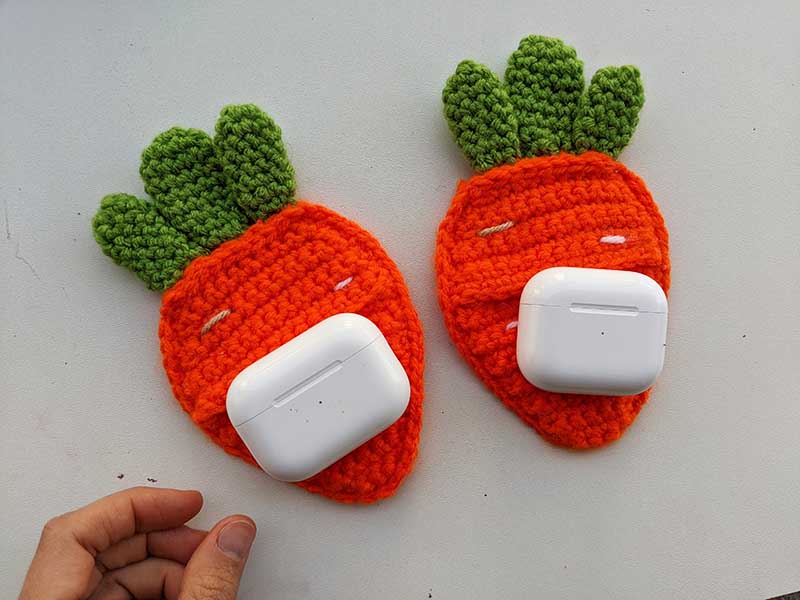
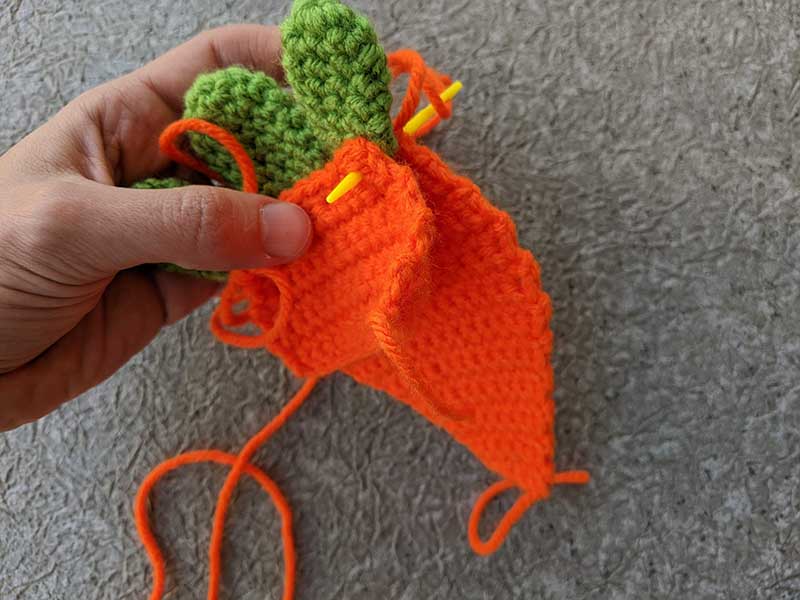
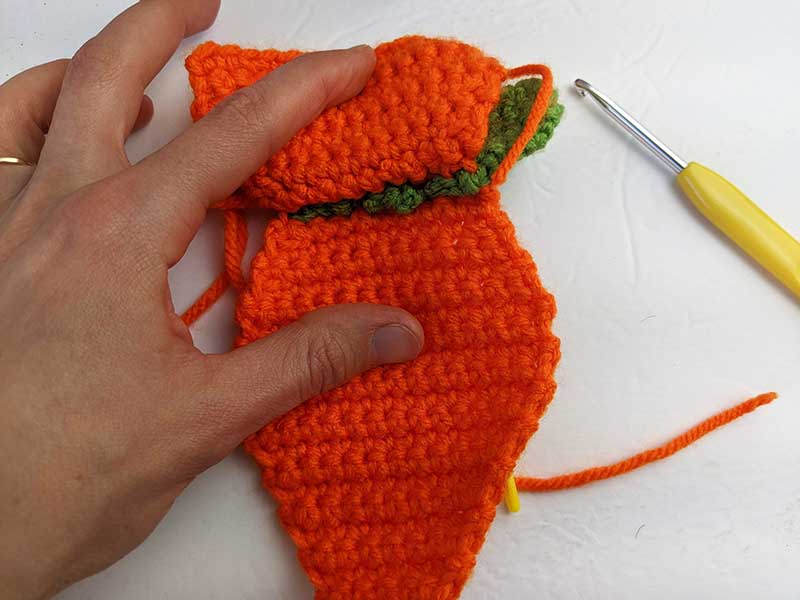
Assembly:
Lay out all the parts:
First, place the back part flat. Next, leaves, making sure the larger leaf is centered. Finally, place the top/front piece over the leaves.
Thread the yarn needle with the tail from the back piece, and sew through all three layers, back and forth, to secure them together at the base.
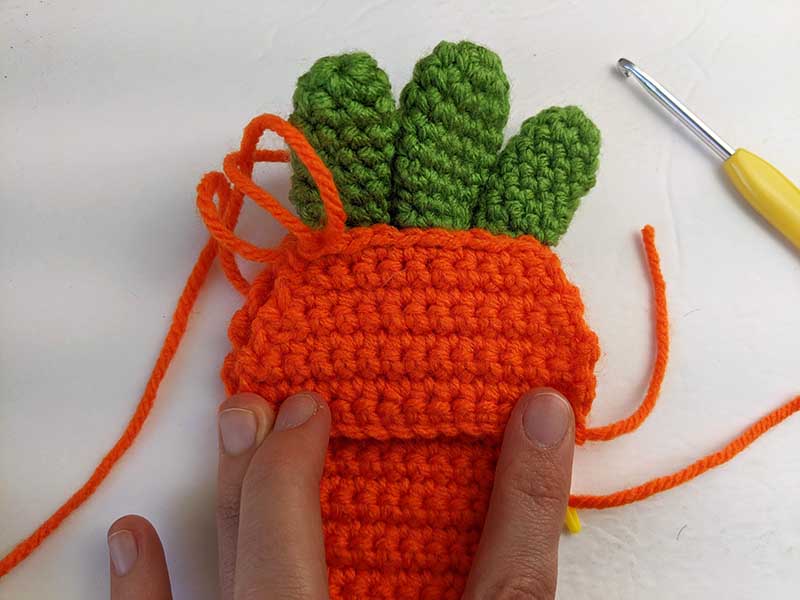
Next, insert your crochet hook into the last working loop. Continue working single crochet (SC) stitches to join the front and back layers of the carrot.
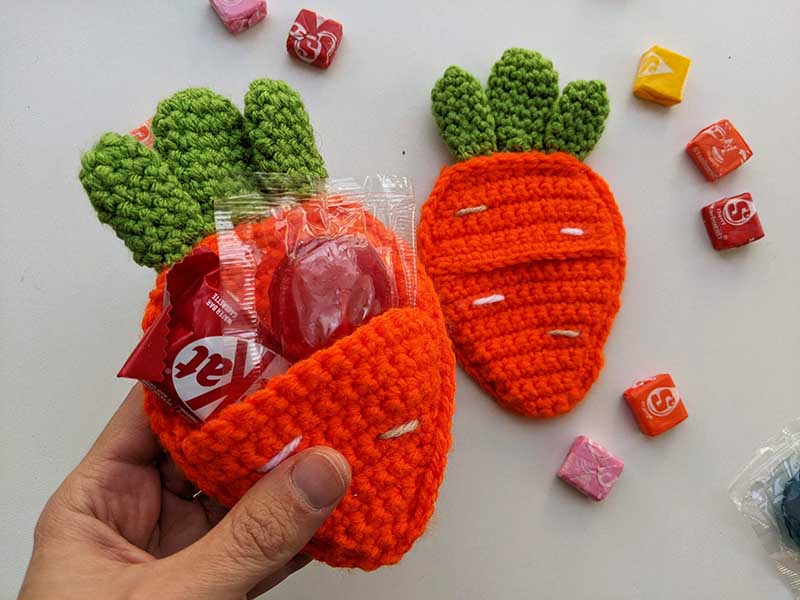
Important:
When you reach the pocket opening, there will be one overlapping row where you’ll need to work through all 3 layers instead of 2. When you reach the top leafy part again, you may optionally work a slip stitch (sl st) into each stitch across the last row. This creates a clean, finished edge for the pocket.
Fasten off and weave in all ends neatly.


Leave a Reply
Want to join the discussion?Feel free to contribute!