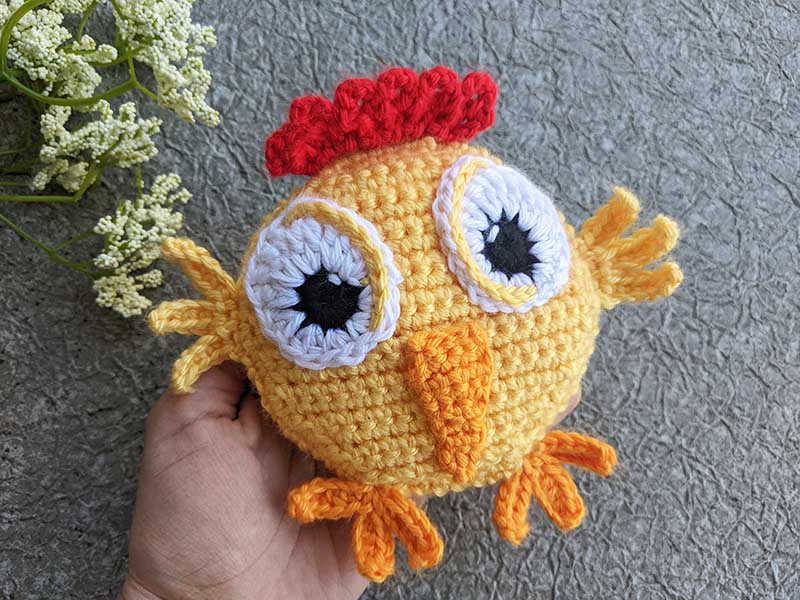
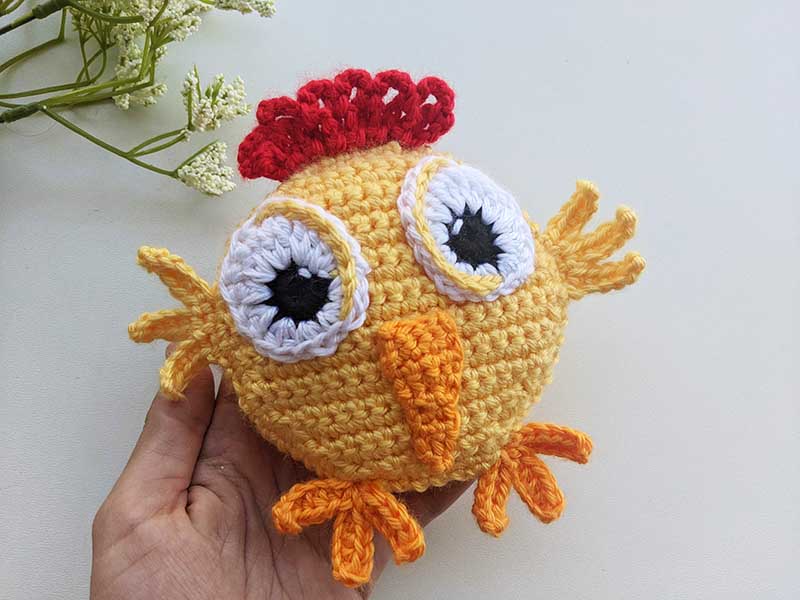
Crochet Baby Chicken Toy Pattern
Pattern Sections
Crochet materials and tools:
<> Crochet hook 3.5 mm
<> Caron, Simply Soft (4) worsted weight yarn – 100% acrylic. Color A – yellow, Color B – black, Color C – white, Color D – orange, Color E – red.
<> Yarn needle, fibre for stuffing.
Common abbreviations of crochet stitches (US):
ch – chain
SC – single crochet
sl st – slip stitch
st(s) – stitch(es)
dec – insert the hook into the next stitch, yarn over, and pull up a loop, insert the hook into the following stitch and pull up another loop, yarn over and pull through all 3 loops on the hook.
HDC – half double crochet
DC – double crochet
TR – treble crochet
Crochet Baby Chicken Toy Pattern
Crochet chicken body:
Crochet circle in rows, make 2:
Ch 7.
Row 1: 2 SC in 2nd chain from hook, SC in next 4 chain, 2 SC in last ch. Turn (8 sts)
Row 2: Ch 1, [2 SC in next st, SC in next 6 sts, 2 SC in next st]. Turn (10 sts)
Row 3: Ch 1, [2 SC in next st, SC in next 8 sts, 2 SC in next st]. Turn (12 sts)
Row 4: Ch 1, [2 SC in next st, SC in next 10 sts, 2 SC in next st]. Turn (14 sts)
Row 5: Ch 1, [2 SC in next st, SC in next 12 sts, 2 SC in next st]. Turn (16 sts)
Row 6: Ch 1, [2 SC in next st, SC in next 14 sts, 2 SC in next st]. Turn (18 sts)
Row 7: Ch 1, SC in each st. Turn (18 sts)
Row 8: Ch 1, SC in each st. Turn (18 sts)
Row 9: Ch 1, [2 SC in next st, SC in next 16 sts, 2 SC in next st]. Turn (20 sts)
Row 10: Ch 1, SC in each st. Turn (20 sts)
Row 11: Ch 1, SC in each st. Turn (20 sts)
Row 12: Ch 1, SC in each st. Turn (20 sts)
Row 13: Ch 1, [dec, SC in next 16 sts, dec]. Turn (18 sts)
Row 14: Ch 1, SC in each st. Turn (18 sts)
Row 15: Ch 1, SC in each st. Turn (18 sts)
Row 16: Ch 1, [dec, SC in next 14 sts, dec]. Turn (16 sts)
Row 17: Ch 1, [dec, SC in next 12 sts, dec]. Turn (14 sts)
Row 18: Ch 1, [dec, SC in next 10 sts, dec]. Turn (12 sts)
Row 19: Ch 1, [dec, SC in next 8 sts, dec]. Turn (10 sts)
Row 20: Ch 1, [dec, SC in next 6 sts, dec]. Turn (8 sts)
Row 21: Ch 1, [dec, SC in next 4 sts, dec]. Turn (6 sts)
After that, make 1 SC in each stitch around the entire circle. Weave in the ends.
Crochet chicken eyes:
Color C – Start with a magic ring:
Round 1 (pupil): Ch 1, 10 SC into the magic ring. Join with sl st to 1st SC. (10 sts) Cut the yarn.
Round 2 (sclera): Color C – Ch 2, 2 HDC into the same stitch as join, 2 DC in next st, 2 TR in next 3 sts, 2 DC in next st, 2 HDC in next st, sl st in next 3 stitches. Join with sl st to 1st HDC. (17 sts) Cut the yarn leaving a long tail.
Add a small shine effect to the eye by using white color or sparkly yarn to work a tiny stitch at the desired reflection spot.

Crochet chicken legs:
With color D
Join the yarn in the first stitch of the body part: [ch 6, HDC in 2d ch from hook, HDC in each ch until the end, sl st into the same st as the join] – repeat 3 times.
Crochet chicken crest:
With color E
-
- Join the yarn in the first stitch of the body part on the opposite side: [Ch 6, sl sl into the same stitch where you started ch 6, sl st in next st] – repeat 6 times, ch 6, sl sl into the same stitch where you started ch 6. Turn.
- Sl st in 1st ch-6 space, [ch 5, sl st in next ch-6 space] – repeat 6 times. Cut the yarn.
Crochet chicken beak:
With Color D
Ch 5.
Row 1: SC in 2nd ch from hook, SC in all other chains. (4 sts)
Row 2: ch 1, SC in each st. (4 sts)
Row 3: ch 1, SC in each st. (4 sts)
Row 4: ch 1, dec, SC in next 2 sts. (3 sts)
Row 5: ch 1, dec, SC in next st. (3 sts)
Row 6: ch 1, SC in each st. (2 sts)
Row 7: ch 1, SC in each st. (2 sts)
Row 8: ch 1, dec. Cut the yarn, leaving a 20 cm to be used for sewing the beak.
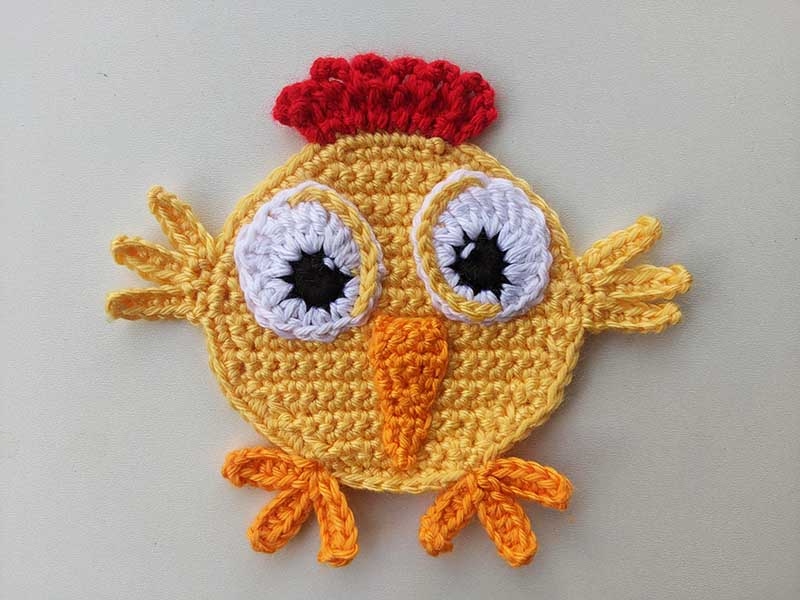
At this point I have sewn the eyes and beak onto the circle with the crest and legs attached.
Crochet chicken wings:
With Color A
Join the yarn at the point where you want the chicken wings to be placed. [Ch 6, SC in 2nd ch from hook, SC in next 4 chs, sl st in next st] – repeat 3 times.
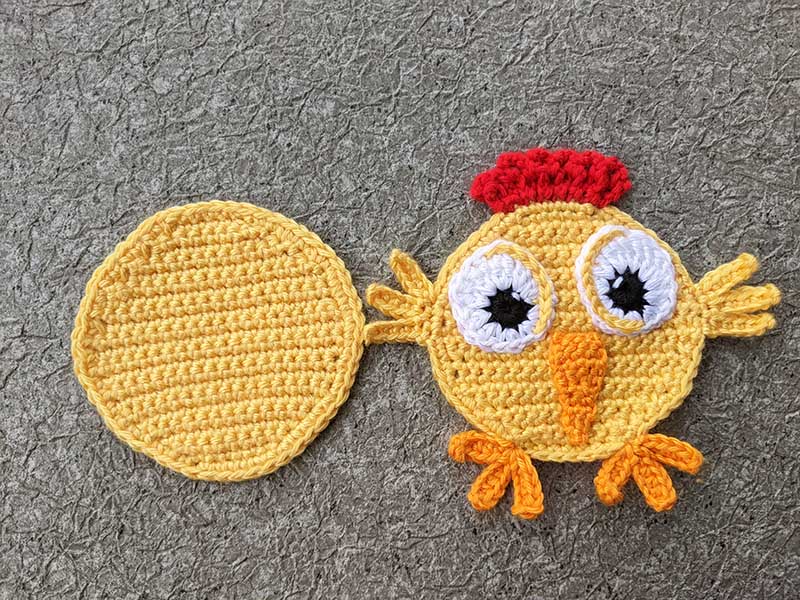
You do not need to weave in the ends, as all tails will remain inside the toy. Stuff the chicken with fiberfill, if desired, and then join the two circles together. You can choose to use filler for a plush effect or join the two circles without filler, depending on your preference. Check the video tutorial for more instructions.


Leave a Reply
Want to join the discussion?Feel free to contribute!